How to Diagnose Yellowing Garden Leaves Fast
Learn how to diagnose yellowing garden leaves through patterns, soil moisture, weather and simple checks, then water precisely and act early with care.

A yellow leaf is not automatically a thirsty leaf. In an Australian garden, the same colour change can come from a heatwave, a week of rain, compacted soil, a nutrient issue or simply an older leaf finishing its cycle. To diagnose yellowing garden leaves accurately, start with the pattern before reaching for the hose or fertiliser.
The fastest route to healthier plants is to treat yellowing as a clue, not a diagnosis. Check where it starts, which leaves are affected, how wet the root zone is and what the weather has done recently. That short sequence prevents the two most common mistakes: overwatering a stressed plant and feeding one whose roots cannot take up nutrients.
Diagnose yellowing garden leaves by the pattern
Look at the whole plant first. A single yellow leaf low on an otherwise vigorous shrub, tomato or indoor-outdoor plant is usually normal ageing. Plants redirect energy from older foliage to fresh growth, flowers or fruit. Remove the leaf once it is mostly yellow and focus on whether new growth looks healthy.
When yellowing is spreading, the location matters. Older leaves yellowing first often points to a mobile nutrient shortage, particularly nitrogen, or a root-zone problem that is stopping nutrient uptake. New leaves turning pale while veins remain green can suggest a micronutrient issue, commonly iron, although high soil pH, cold wet soil and damaged roots can produce the same look.
Uniform yellowing across much of the plant is more often a watering or root problem than a missing nutrient. Yellow leaves with soft stems, slow growth or constantly damp soil are a strong warning that roots are getting too little oxygen. Yellowing paired with crisp edges, drooping and dry soil points in the other direction.
Also inspect the colour between the veins. Green veins with yellow tissue between them is called interveinal chlorosis. It is useful evidence, but do not diagnose from that sign alone. Citrus, gardenias and other acid-loving plants may show it because the soil is too alkaline. A vegetable bed may show it after prolonged wet weather, when roots temporarily struggle to absorb available nutrients.
Check the root zone before you change watering
Leaves report what has already happened. Soil moisture tells you what is happening now.
Push a finger or narrow trowel into the soil 5 to 10 centimetres from the plant base, avoiding the main stem. For pots, check below the dry surface layer rather than judging by the top centimetre. If the root zone is wet and cool several days after watering or rain, pause irrigation until the soil reaches the plant's preferred range. If it is dry well below the surface, water slowly and deeply enough to wet the active root zone.
The trade-off is that no single moisture rule suits every plant. A rosemary in a sunny raised bed needs a drier target than basil in a pot, while a peace lily under cover needs a different rhythm again. Fixed timer schedules cannot see this difference, especially when a hot northerly arrives or a summer storm changes conditions overnight.
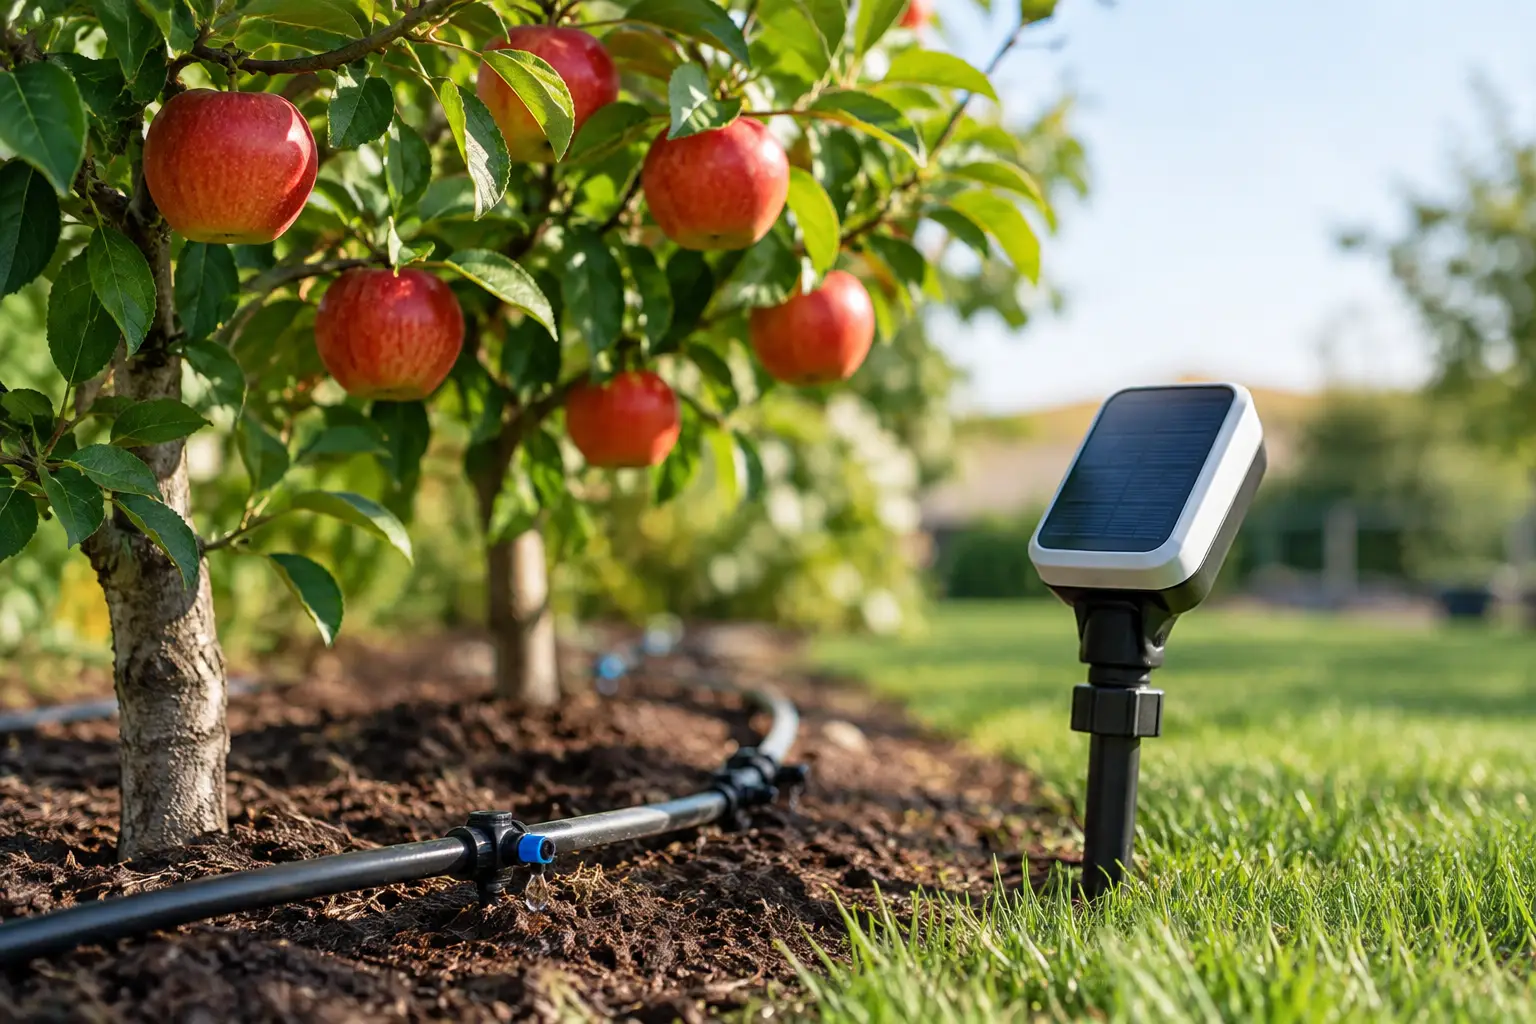
For a connected garden, a soil-moisture sensor gives you a more reliable starting point than a calendar. Place it where the roots actually are, not beside a dripper or at the edge of a garden zone. A reading from permanently wet soil can cause under-watering elsewhere; a sensor in a dry pocket can do the opposite. Check it against the soil by hand when first setting up, then use a moisture target appropriate to that plant and zone.
Separate weather stress from watering mistakes
Australian weather can make a healthy watering routine look wrong for a few days. Heat, reflected light from paving, hot winds and sudden cold snaps all affect foliage.
During extreme heat, leaves may yellow or bleach on the most exposed side of a plant. This is often sun scorch, particularly after a plant has been moved from shade into full sun or after pruning removes its protection. Watering more may not solve it. Temporary shade, mulch and a slower transition to stronger light are usually the better response.
After extended rain, yellowing can appear even where the soil is normally free-draining. Saturated roots cannot exchange gases properly, and nutrients can leach beyond reach. Let the soil dry to an appropriate level, clear blocked drainage holes in pots and avoid compacting wet beds by walking through them. If water pools repeatedly, the long-term fix may be improved drainage or a raised planting area rather than less frequent watering alone.
Cold soil can slow nutrient uptake, especially in early spring. Avoid applying heavy fertiliser doses to a plant that is wet, cold and struggling. Fertiliser salts can add stress when roots are inactive. Wait until conditions improve, then feed only if the plant and soil symptoms still point to a genuine deficiency.
Rule out pests, disease and physical damage
Turn yellow leaves over. Fine webbing, stippling and bronzed foliage can indicate spider mites, which thrive in dry, hot conditions. Sticky residue, sooty mould or clusters of insects may indicate sap-sucking pests such as aphids, scale or whitefly. These pests can cause yellowing by draining plant energy and spreading disease.
Look for spots as well as colour. Yellow halos around brown or black lesions may signal a fungal or bacterial leaf problem. Remove badly affected foliage with clean secateurs, keep leaves dry where practical and improve airflow. Do not compost diseased material if you are unsure of the cause.
Physical issues are easy to miss. Check whether a pot-bound plant has roots circling tightly, whether mulch is piled against the stem, or whether a recent herbicide application, lawn treatment or cleaning product could have drifted onto foliage. Even a sudden relocation can produce yellow leaves as a plant adjusts to its new light and temperature.
Use fertiliser carefully, not as a first response
Fertiliser can help, but only after moisture and drainage are right. Roots need oxygen and suitable soil conditions to absorb nutrients. Feeding a waterlogged plant often gives you yellow leaves and a fuller fertiliser cupboard.
For established garden beds, use a fertiliser matched to the plant type and follow the label rate. Native plants are especially sensitive to high phosphorus products, so choose a native-safe option where needed. For citrus and heavy-feeding vegetables, regular light feeding during active growth can be more effective than occasional large applications.
If you suspect pH is limiting nutrient availability, test before trying to correct it. Acid-loving plants may benefit from an appropriate soil treatment, but changing pH too aggressively can create a new imbalance. In containers, salt build-up from fertiliser can also yellow leaf edges. Flush the pot thoroughly only if drainage is good, then allow it to drain freely.
A simple decision flow for yellow leaves
Start with the soil: too wet, too dry or within the plant's preferred range. Next, check the leaf pattern: old leaves, new leaves, yellowing between veins or damaged patches. Then review the past week of weather and any changes to watering, feeding, light or location.
If the cause is still unclear, take a clear photo of the whole plant and a close-up of the affected leaves. Include the underside where possible. Plant identification and photo-based health assessment can narrow the likely causes, but the result is strongest when paired with real moisture data and local weather. That is the difference between guessing from a yellow leaf and making a useful next decision.
Verde brings those checks into one simple flow: organise plants by zone, set individual moisture targets, see local conditions and automate compatible smart valves based on what the soil needs. It is a practical way to stop a timer from watering every plant as though it has the same roots, exposure and tolerance.
A few yellow leaves do not need panic or a cupboard full of treatments. Give the plant a closer look, confirm the condition around its roots and make one measured change. Your garden will usually tell you whether you are on the right track in the next round of growth.