How to Check Soil Moisture Before You Water
Learn how to check soil moisture with touch, a skewer and a sensor, then water each garden zone when plants need it, not when a timer says so outside.
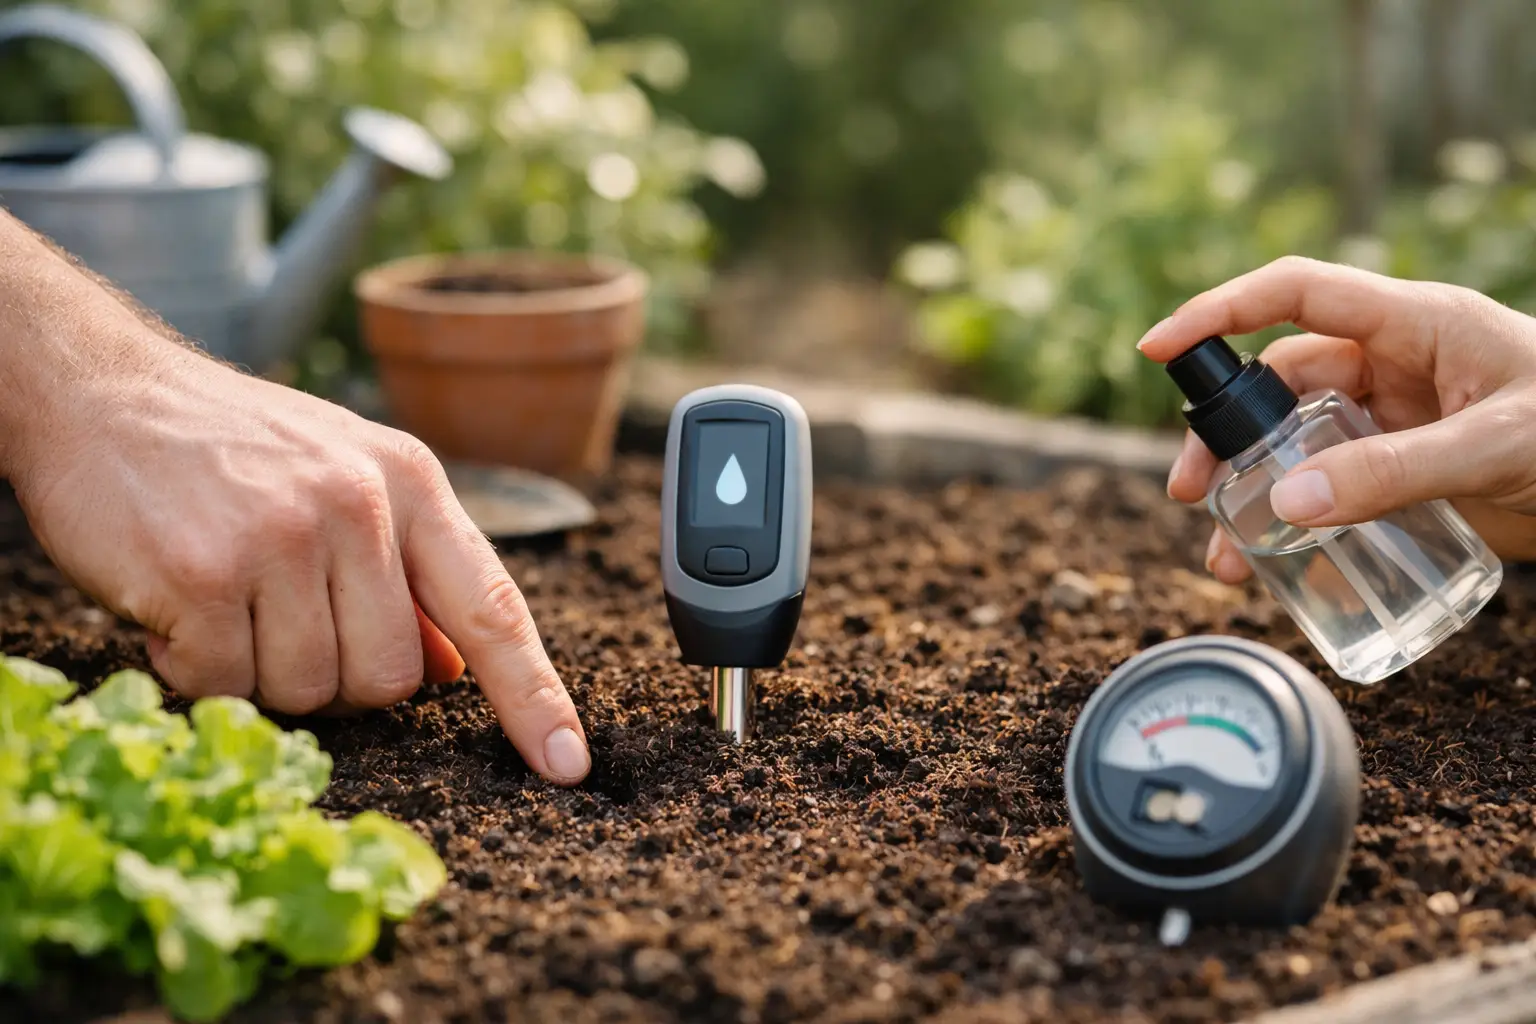
A garden can look thirsty at 3 pm and still have plenty of water around its roots. Heat, wind and a dry top layer can make leaves droop temporarily, while watering again may leave the root zone too wet. Learning how to check soil moisture takes the guesswork out of watering, helps prevent root rot and avoids sending precious water down the drain.
The useful question is not simply, “Is the surface dry?” It is, “What is happening where this plant is actually growing?” Check at root depth, consider the plant and soil type, then water only when the result calls for it.
How to check soil moisture by hand
For pots, small raised beds and new plantings, your finger is a quick and surprisingly useful tool. Push a clean finger into the soil to the first or second knuckle, roughly 3 to 5 cm deep. If the soil feels cool and clings to your skin, it is usually still moist. If it feels dusty, loose and dry at that depth, watering is likely due.
This method works best for herbs, annuals and smaller pots where most roots sit close to the surface. It is less reliable for established shrubs, fruit trees and deep garden beds. Their active roots may be 10 cm or more below a dry-looking surface.
Texture matters too. Sandy soil can feel dry soon after watering but may still hold enough moisture deeper down. Clay soil can appear damp on top for days while becoming waterlogged below. Do not water to a fixed rule such as “every second day”. Water to the condition around the roots.
Use a timber skewer for deeper checks
A plain timber skewer, chopstick or thin bamboo stake gives you a clearer read below the surface without disturbing the plant. Push it gently into the soil near, but not through, the main stem. Leave it for a few seconds, then pull it out.
Damp soil will darken the timber and may stick to it. Dry soil comes out mostly clean. The point where the skewer changes from wet to dry shows how far moisture has reached. This is particularly handy for pots, vegetable beds and containers with dense foliage that make finger checks awkward.
Check in two or three positions for a large pot or bed. Water does not always spread evenly, especially in dry potting mix or compacted soil. A plant can be wet on one side and dry on the other if water has found an easy channel down the pot wall.
Lift pots when you can
With smaller containers, weight is another practical signal. Lift the pot just after a thorough watering, then lift it again a day or two later. A noticeably lighter pot has used or lost a meaningful amount of water.
This is not precise enough to run irrigation automatically, but it helps you learn the rhythm of plants on a balcony, courtyard or sunny verandah. Terracotta pots dry much faster than glazed ceramic or plastic ones, and a hot northerly wind can change the timing again.
Read the plant, but do not let it make the decision alone
Leaves provide context, not proof. Wilting, curling, dull colour and crisp edges can indicate dry soil. They can also point to heat stress, root damage, pests, fertiliser burn or soil that is too wet for roots to take up oxygen.
Check the soil before reacting. If a wilting plant has wet soil, more water will not solve the problem. Move a potted plant out of harsh afternoon sun if appropriate, inspect for drainage issues and allow the root zone to dry to its preferred level.
This distinction matters in Australian summers. A hydrangea or lettuce plant may sag during a hot afternoon and recover by evening without any watering. Watering every time you see temporary wilt trains you to overwater, particularly in heavy soil.
Choose the right moisture level for the plant
There is no single perfect soil moisture reading for every garden. Moisture targets depend on the plant, its growth stage, the season and the growing medium.
Most vegetables, leafy herbs, seedlings and flowering annuals prefer consistently moist soil. They should not sit in a soggy bed, but letting them dry out completely can slow growth, cause bitter leaves or lead to cracked fruit. Tomatoes need a more even water supply once fruit is forming, although the soil should still drain freely.
Mediterranean herbs such as rosemary, thyme and lavender prefer to dry more between waterings. Many succulents, cacti and Australian natives also need excellent drainage and a much drier cycle than a thirsty vegetable patch. Keeping these plants on the same irrigation schedule is a common cause of preventable losses.
Indoor plants need the same root-zone thinking. A monstera may be ready for water when the upper few centimetres are dry, while a snake plant is happier drying further down. The pot, light level and indoor temperature change the rate, so calendar reminders are only a starting point.
How to check soil moisture with a sensor
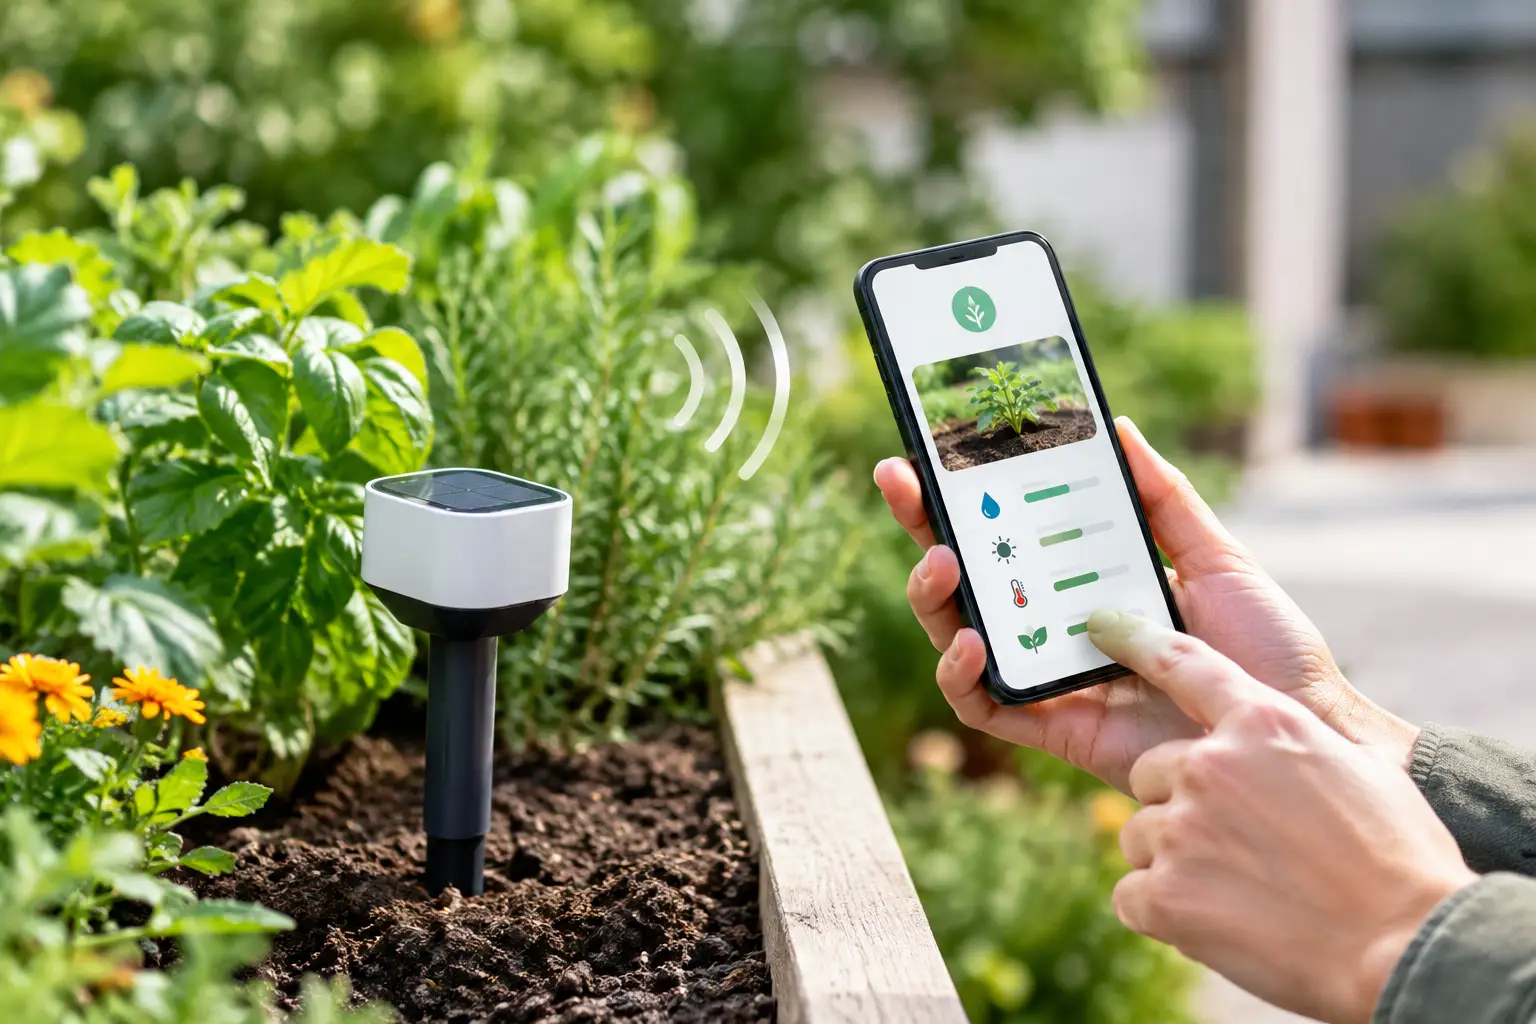
A soil moisture sensor gives you a repeatable reading at the root zone and is the better option when you manage several garden zones, travel regularly or want irrigation to respond to conditions rather than a timer. It replaces repeated guesswork with live data you can review over time.
Placement is critical. Install the sensor in representative soil, close enough to the plant’s feeder roots to reflect what it experiences, but not pressed against the stem or buried directly beneath a dripper. If the sensor sits in the path of every watering event, it may report wet soil while the rest of the root zone is dry.
For a mixed bed, place sensors near plants with similar water needs. A sunny vegetable bed, shaded fern corner and native border should be treated as separate zones where possible. One sensor cannot accurately represent every plant in a large, varied garden.
Sensor readings are most useful as trends and thresholds. The exact number can vary with soil type, salinity and the sensor itself. First water thoroughly, observe the high reading after drainage, then watch how quickly the level falls. That pattern helps establish a sensible lower threshold for each zone.
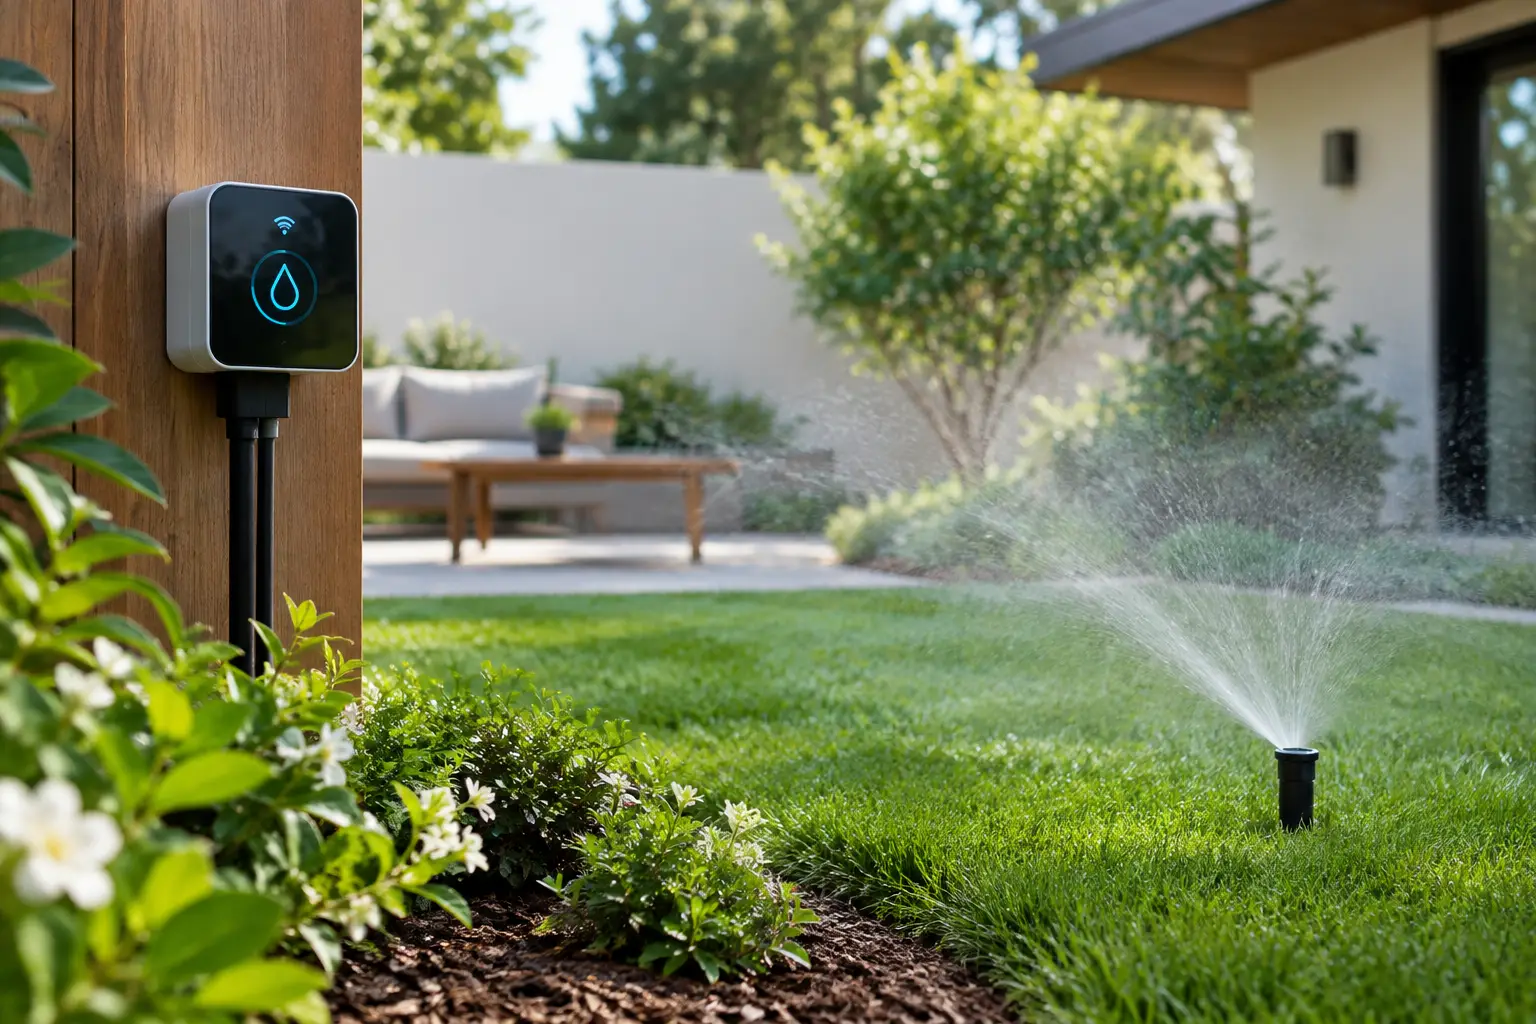
With a connected system such as Verde, you can set plant-appropriate moisture targets and let a compatible smart valve water when the soil falls below that target. Weather awareness can further reduce unnecessary watering after rain or during cooler conditions. The outcome is simple: water reaches the garden when it is needed, rather than when a rigid schedule happens to run.
Keep sensor data honest
Even good sensors need sensible setup. Avoid placing one beside a leaking tap, in a low spot where water pools, or at the edge of a bed that dries faster than the centre. After installation, compare readings with a finger or skewer check for the first week or two.
If the reading says wet but the soil around the roots feels dry, reposition the sensor or inspect the irrigation coverage. If it always says dry just after watering, check whether water is reaching that part of the bed and whether the sensor has good contact with the soil. Air pockets can distort a reading.
Check moisture at the right time
Morning is ideal for a manual check. It shows how much water remains after the previous day without the misleading effect of peak heat. If watering is needed, morning irrigation also gives foliage time to dry and prepares plants for the day ahead.
During heatwaves, check high-risk plants more often: seedlings, hanging baskets, pots in full sun and shallow-rooted vegetables. That does not automatically mean watering daily. It means confirming the soil condition more frequently because conditions can change quickly.
After rain, do not assume every zone has been watered deeply. A brief shower may wet only the top centimetre, particularly under dense foliage, eaves or tree canopies. Use a skewer or sensor reading to see whether moisture reached the root zone before cancelling irrigation for days.
Turn moisture checks into a simpler routine
Start by grouping plants according to how they actually use water. Keep thirsty vegetables and annuals together where possible. Give dry-loving herbs, succulents and natives their own area or watering schedule. Then check one representative spot in each zone instead of trying to inspect every plant.
For manual care, a quick morning pass two or three times a week is often enough outside extreme weather. For connected irrigation, review your moisture thresholds after a seasonal change, a new planting or a switch in mulch or potting mix. The garden is not static, and the best settings will shift with it.
A layer of mulch can make this routine even more effective. It slows surface evaporation, moderates soil temperature and gives water more time to move into the root zone. Keep mulch clear of stems and trunks so it does not trap excess moisture against the plant.
The best moisture check is the one that reflects the roots, not the surface or the date on the calendar. Once you can see how each zone dries, watering becomes one simple, informed action instead of a daily round of doubt.