Smart Home Garden Integration Guide for AU Homes
This smart home garden integration guide helps Australian households connect sensors, valves and weather data for healthier plants and less water waste.
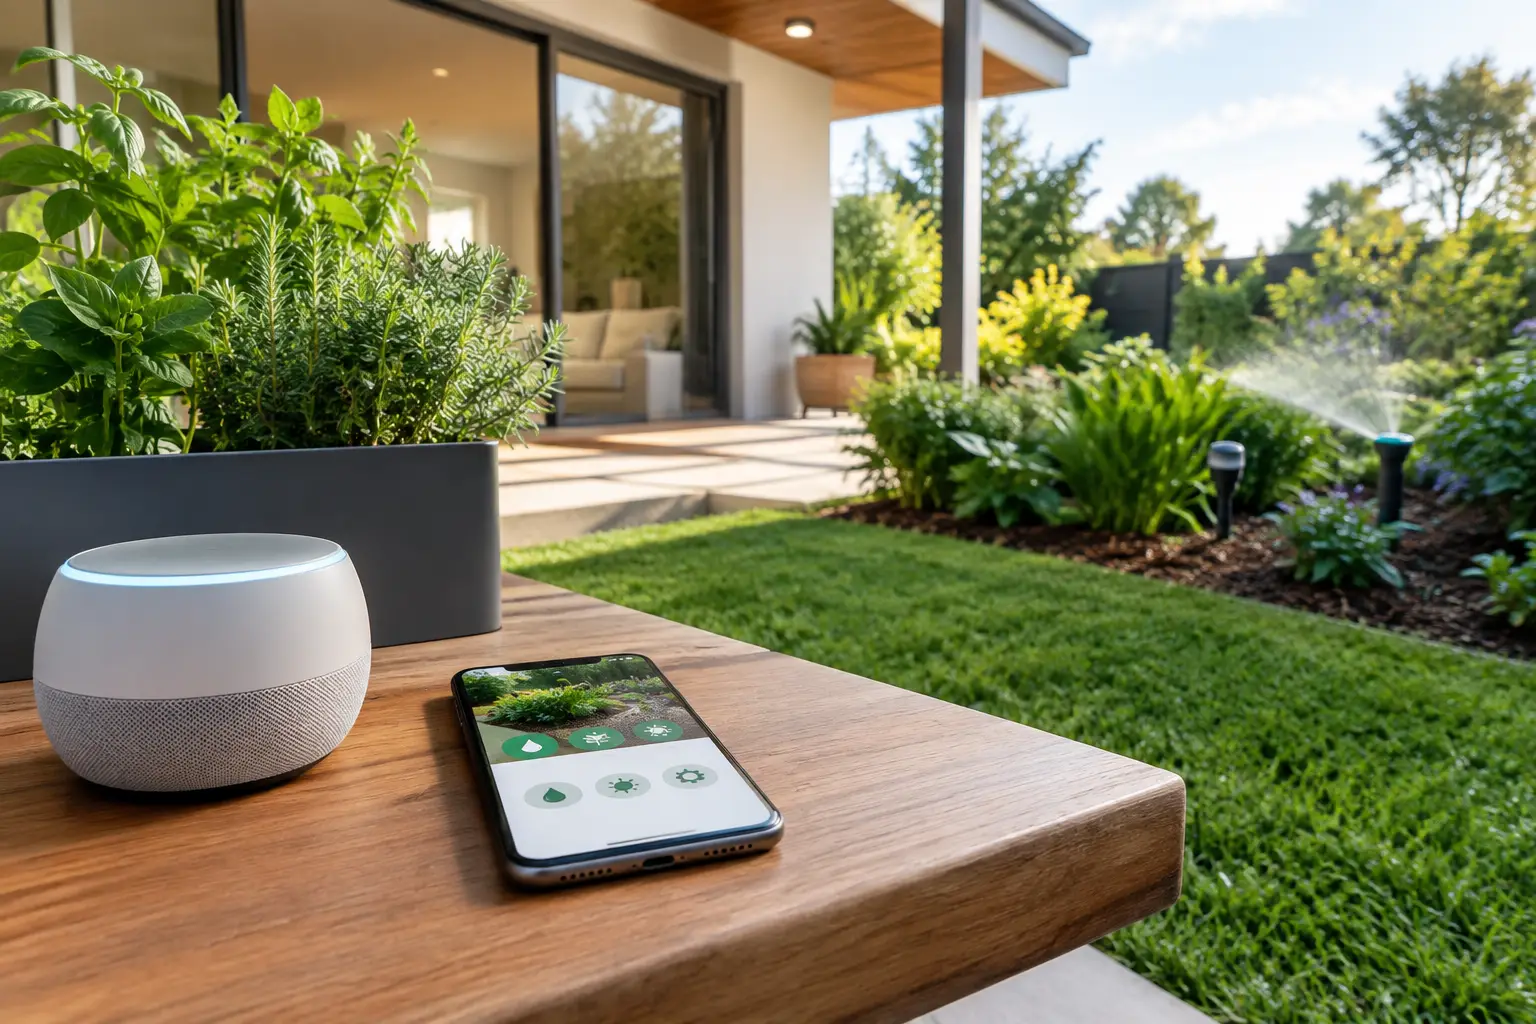
A garden timer can water faithfully and still get it wrong. A hot western bed, a shaded fern corner and a row of herbs in pots do not dry out at the same speed, particularly through an Australian summer. This smart home garden integration guide shows how to connect the right devices and data so your garden is watered for what it actually needs, not just because it is 6 am.
The aim is simple: one app for the whole garden, with enough automation to remove repetitive chores and enough control to stay confident. You do not need to replace every part of your setup at once. Start with the zones and plants that cause the most uncertainty, then build from there.
Start with the garden, not the gadgets
Smart garden systems work best when their layout matches the way your outdoor space behaves. Before buying a sensor or connecting a valve, walk through the garden and identify areas with similar watering needs. A sunny vegetable bed is one zone. Established native shrubs with low water needs are another. Pots, lawns and shaded garden beds generally deserve separate zones too.
This matters because a valve can only make one watering decision at a time. If thirsty basil and drought-tolerant rosemary share the same line, the system has to compromise. Separating them gives you a far better result than adding more schedules ever will.
Look at practical constraints as well. Check where existing irrigation lines run, which taps feed each area and whether your Wi-Fi or smart-home network reaches the garden. If signal is patchy at the back fence, a sensor may report inconsistently even if it is close to the plants. A simple network test with your mobile before installation can save a frustrating afternoon.
For renters, the starting point may be less permanent: a connected tap controller, a few container sensors and a garden organised in the app. You can still automate meaningful care without digging up the courtyard or modifying fixed irrigation.
Choose devices that can work together
A connected garden should not become another collection of isolated apps. Prioritise compatible smart valves and soil-moisture sensors that can share data with the platform you plan to use. Matter support is especially useful where available because it helps devices work across ecosystems rather than locking your garden to one brand.
Apple Home, Google Home and Home Assistant can each play a role in a broader home setup. Voice control can be handy when you want to run a one-off watering cycle, while Home Assistant suits people who want more advanced rules and dashboards. But voice commands and calendar-style routines should not be the main decision-maker for irrigation. They are convenient controls, not a substitute for knowing whether soil is dry.
Your core setup needs three things: a way to measure conditions, a way to control water and a system that turns that information into a sensible action. In practice, that means soil sensors, smart valves and software that understands plant moisture targets and local weather.
A no-hub approach is often easier to maintain. It means fewer boxes near the router, fewer points of failure and a simpler path when you move house or upgrade your network. It does depend on selecting devices that communicate reliably with your existing home setup, so compatibility is worth checking before purchase.
Soil sensors are the decision layer
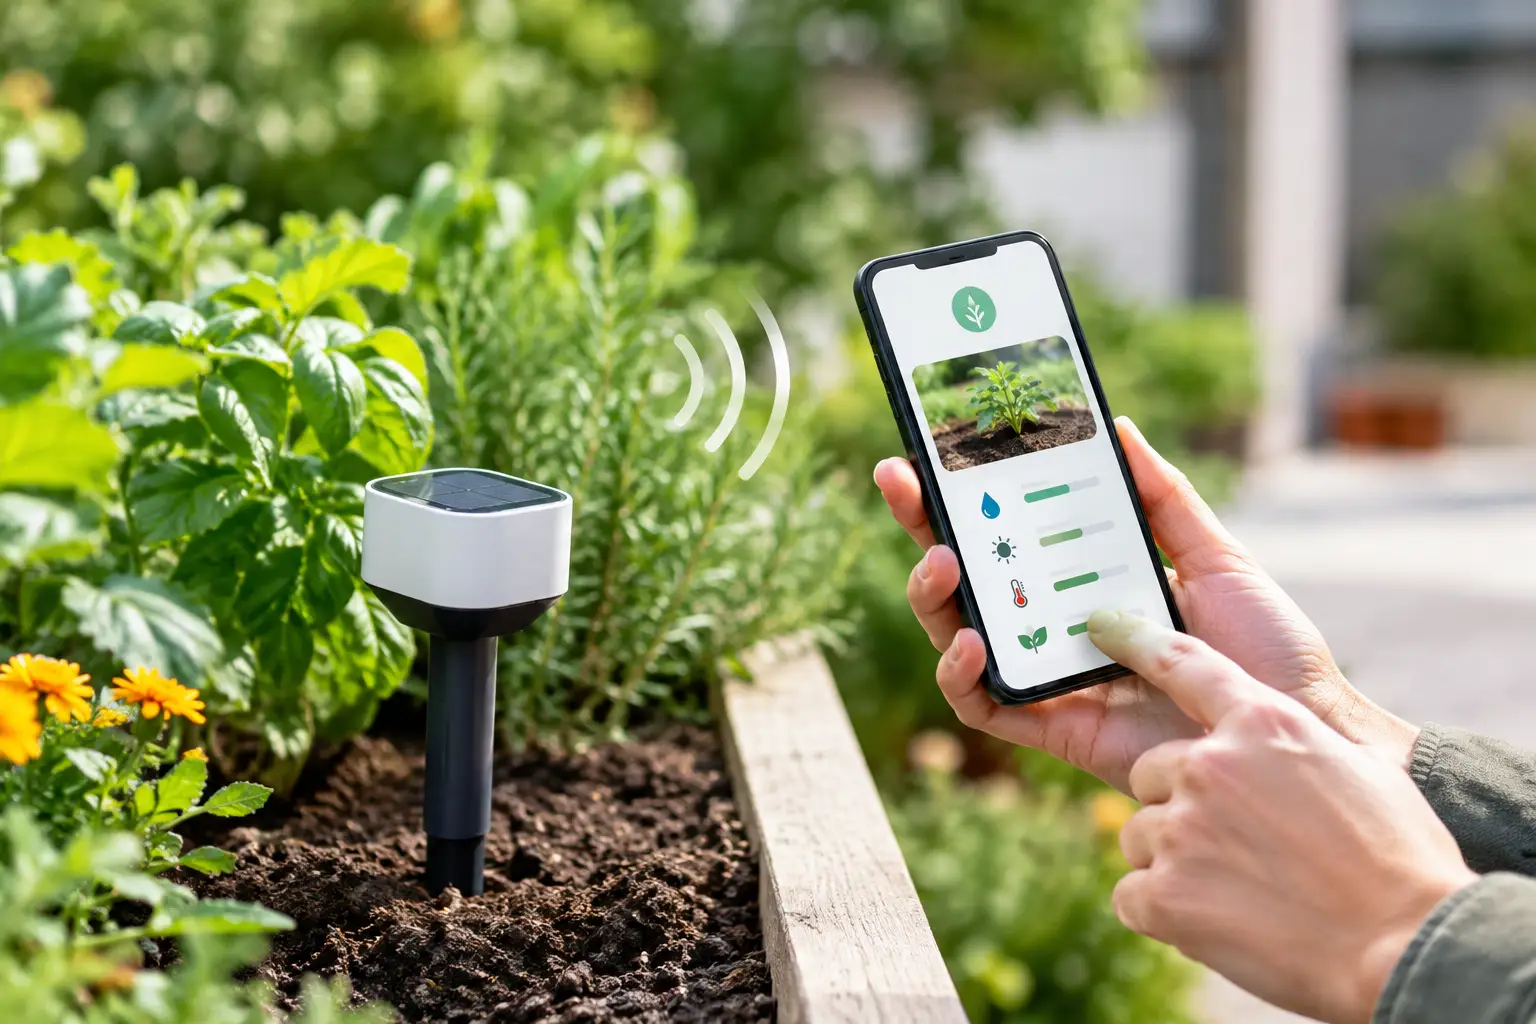
A soil sensor answers the question a timer cannot: is this root zone actually dry? Place sensors where they reflect the conditions of the plants you are trying to protect. For a garden bed, avoid the very edge where soil can dry faster than the centre. For pots, place the sensor at a meaningful root depth rather than leaving it near the surface.
One sensor does not always represent an entire zone. A long bed with mixed sun exposure, sandy soil at one end and heavier soil at the other may need more than one reading point. Start with the driest or most valuable area, then add coverage if the data shows major variation.
Sensor readings need context. Moisture values vary with soil mix, pot size, drainage and sensor type. The useful number is not a universal percentage. It is the threshold that tells you this particular plant, in this particular location, is approaching stress.
Smart valves are the action layer
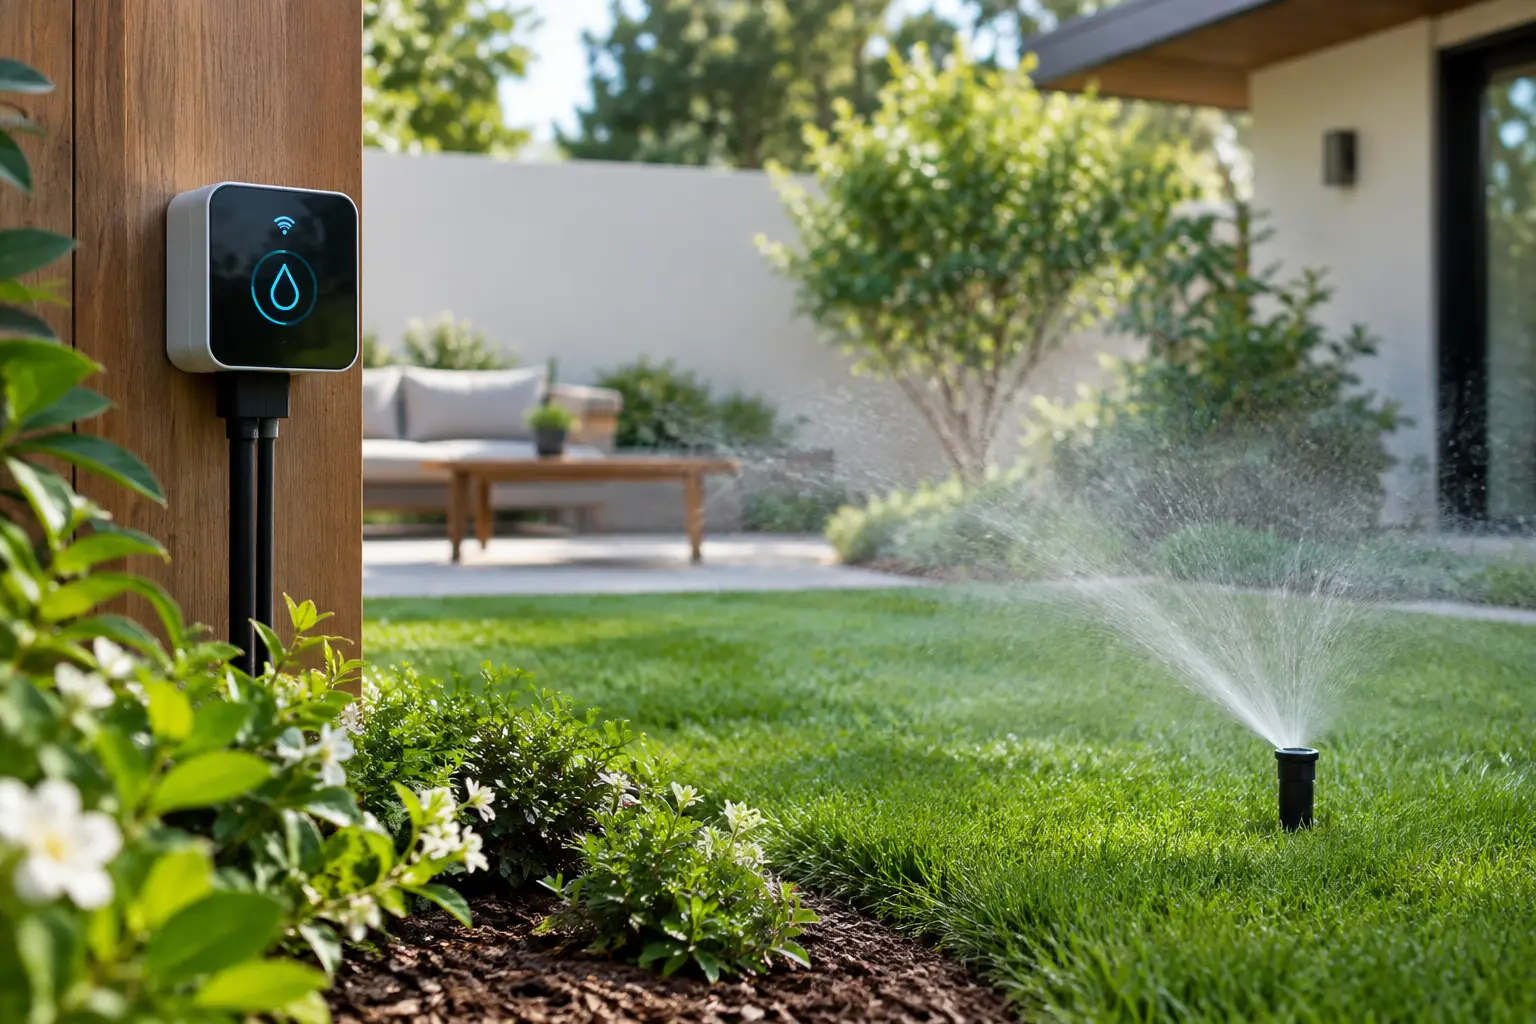
A smart valve opens and closes irrigation remotely, but that alone is only a smarter timer. The value appears when the valve responds to real soil conditions, plant targets and current weather.
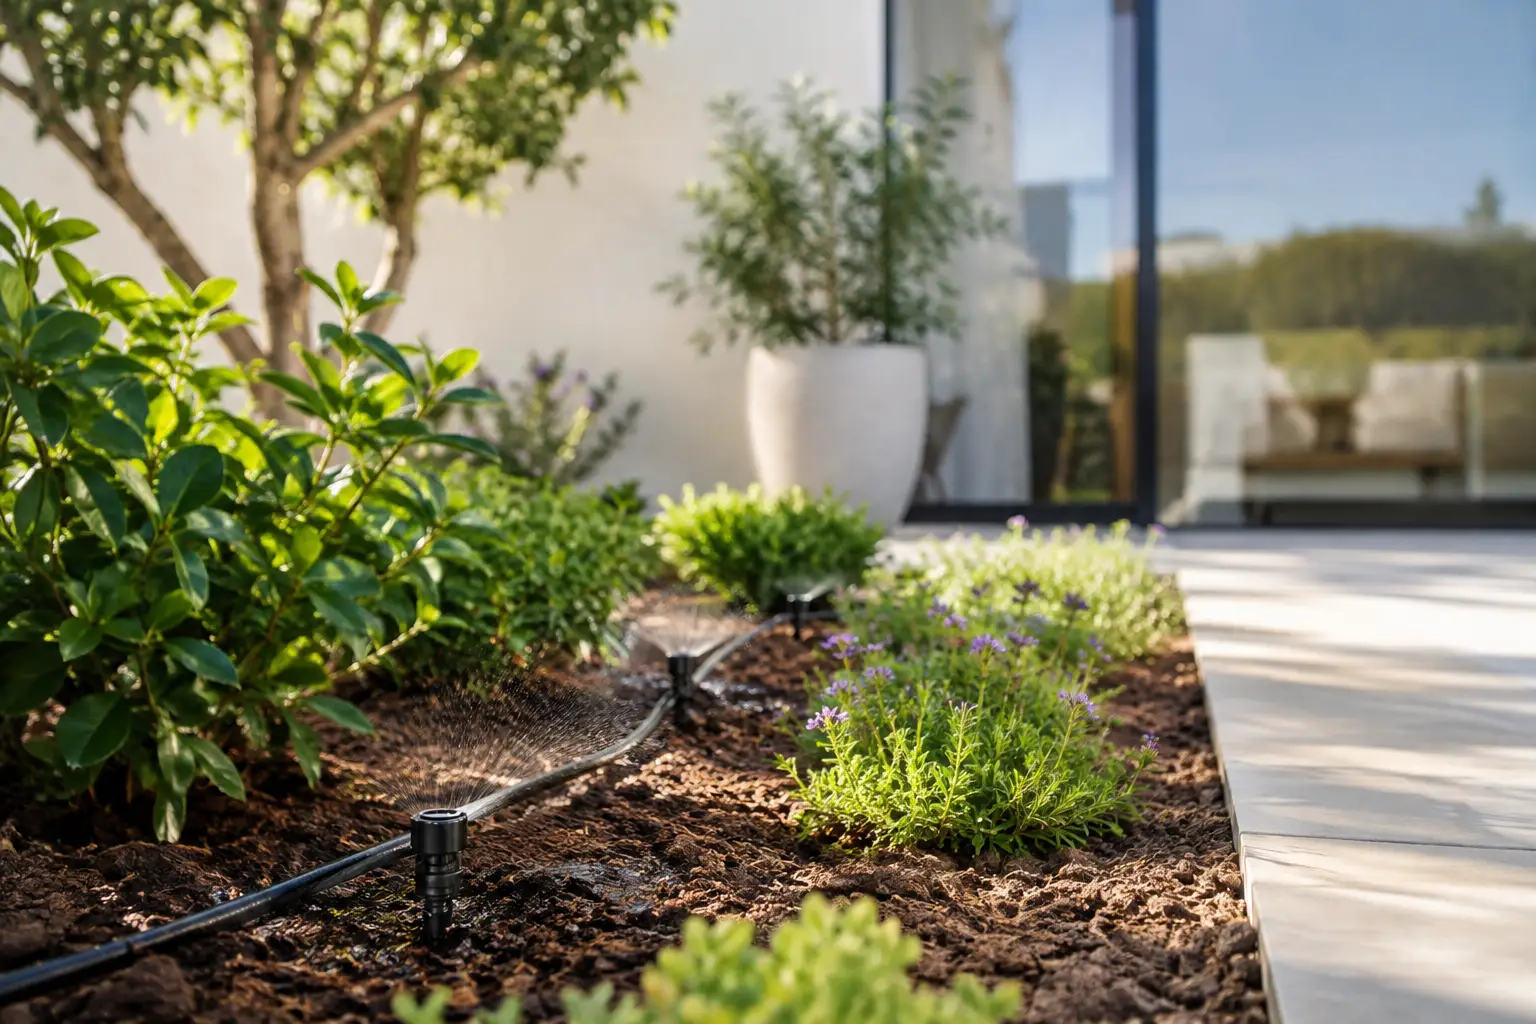
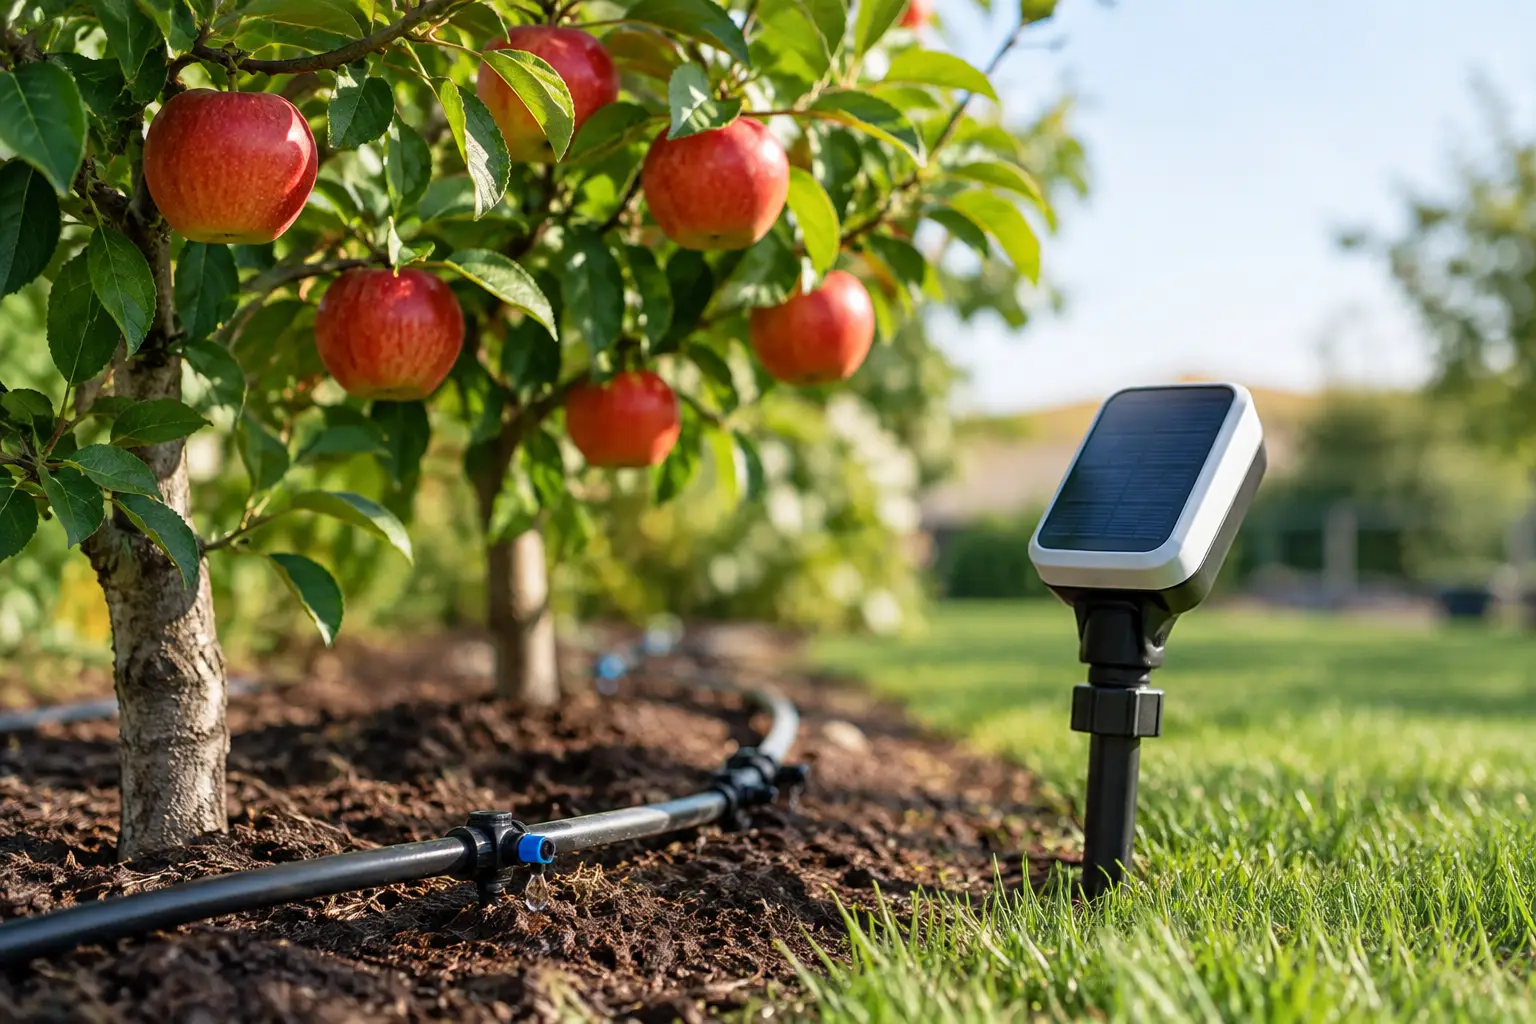
Check whether a valve suits your irrigation layout before relying on it. Drip irrigation is usually a strong match for garden beds, vegetables and pots because it applies water slowly and locally. Sprinklers can work well for lawns, but wind and overspray make their results less predictable. A valve also needs adequate water pressure, a weatherproof installation and a manual override for the times you simply want to take control.
Build your smart home garden integration around plant targets
The best automation starts with a clear instruction: keep this plant within a defined moisture range. When soil drops below the lower threshold, the system can water. When it reaches the target, the valve closes. This is a different model from running every zone for 15 minutes on Monday, Wednesday and Friday regardless of rain, heat or soil type.
With Verde, you can photograph a plant to identify it, receive a suggested moisture range, then assign it to a garden zone. The app brings plant records, soil conditions, weather-aware watering and compatible valve control into one operating flow. You retain the ability to adjust targets, which matters because a healthy plant in a sheltered Sydney courtyard may behave differently from the same species in a windy Adelaide garden.
Set initial targets conservatively and observe the results for a couple of weeks. Leaves that wilt despite apparently adequate moisture may point to heat stress, compacted soil, poor drainage or a sensor positioned badly. Yellowing can indicate overwatering, but it can also come from nutrient issues. Automation provides useful evidence, not a licence to ignore what the plant is telling you.
For established natives, lower watering targets and deeper, less frequent irrigation may be more appropriate than keeping soil constantly damp. For leafy vegetables, shallow-rooted annuals and small pots, the acceptable dry window is often narrower. The right approach depends on the plant, soil and season.
Add weather data without giving weather full control
Local weather makes irrigation smarter because rain, heat and wind affect how quickly soil dries. A weather-aware system can avoid watering ahead of meaningful rain, reduce unnecessary cycles during cool wet periods and respond when a run of hot days increases demand.
Forecasts are not perfect, though. A predicted shower may miss your street entirely, while a heavy downpour may not soak soil beneath a dense tree canopy. That is why weather works best as a modifier, with soil moisture as the final check. If your sensor says the root zone is still dry, a forecast alone should not leave plants thirsty for days.
Set sensible guardrails. Pause watering after substantial measured rain if your soil holds moisture well, but keep a closer eye on fast-draining pots. Limit the maximum runtime for each valve in case a sensor disconnects or reports an unlikely value. Notifications for low battery, lost connection or unusually long watering events give you oversight without requiring daily app checks.
Keep routines for predictable jobs
Not every garden task should be automated from a moisture threshold. A lawn treatment, a new seed bed or a fresh planting may need a planned watering routine while roots establish. Use schedules where timing is genuinely the goal, then let moisture-based automation take over once the area is settled.
Schedules are also useful as a backup during sensor maintenance. Just avoid treating them as permanent truth. Seasonal changes can turn a suitable autumn schedule into wasteful summer watering, or leave winter plants sitting in wet soil for too long.
A good system combines both approaches: plant-led automation for ongoing care, and simple schedules for temporary or task-specific watering.
Maintain the system like part of the garden
Smart devices reduce the work, but they do not remove basic garden observation. Check sensors after repotting, mulching or changing soil. Clean irrigation filters, inspect drippers for blockages and look for leaks around valves. A perfectly automated valve cannot compensate for a split poly pipe watering the footpath.
Review your zones at the start of each season. Plants grow, tree shade changes and a newly built pergola can alter drying patterns across a bed. Reorganising zones in your app takes minutes and keeps your automation aligned with the garden you have now, not the one you planted two years ago.
Use plant photos and health assessments when something looks off, especially before increasing water. Brown leaf edges, spots and drooping can have several causes. Catching a pest, disease or drainage problem early can prevent the common mistake of watering harder when water is not the issue.
The most useful smart garden is not the one with the most devices. It is the one that notices dry soil, responds with the right amount of water and leaves you more time to enjoy what is growing.