Smart Valve Buying Checklist for Australian Gardens
Use this smart valve buying checklist to match your irrigation zones, sensors and smart-home setup, then water each plant with less waste in any season.
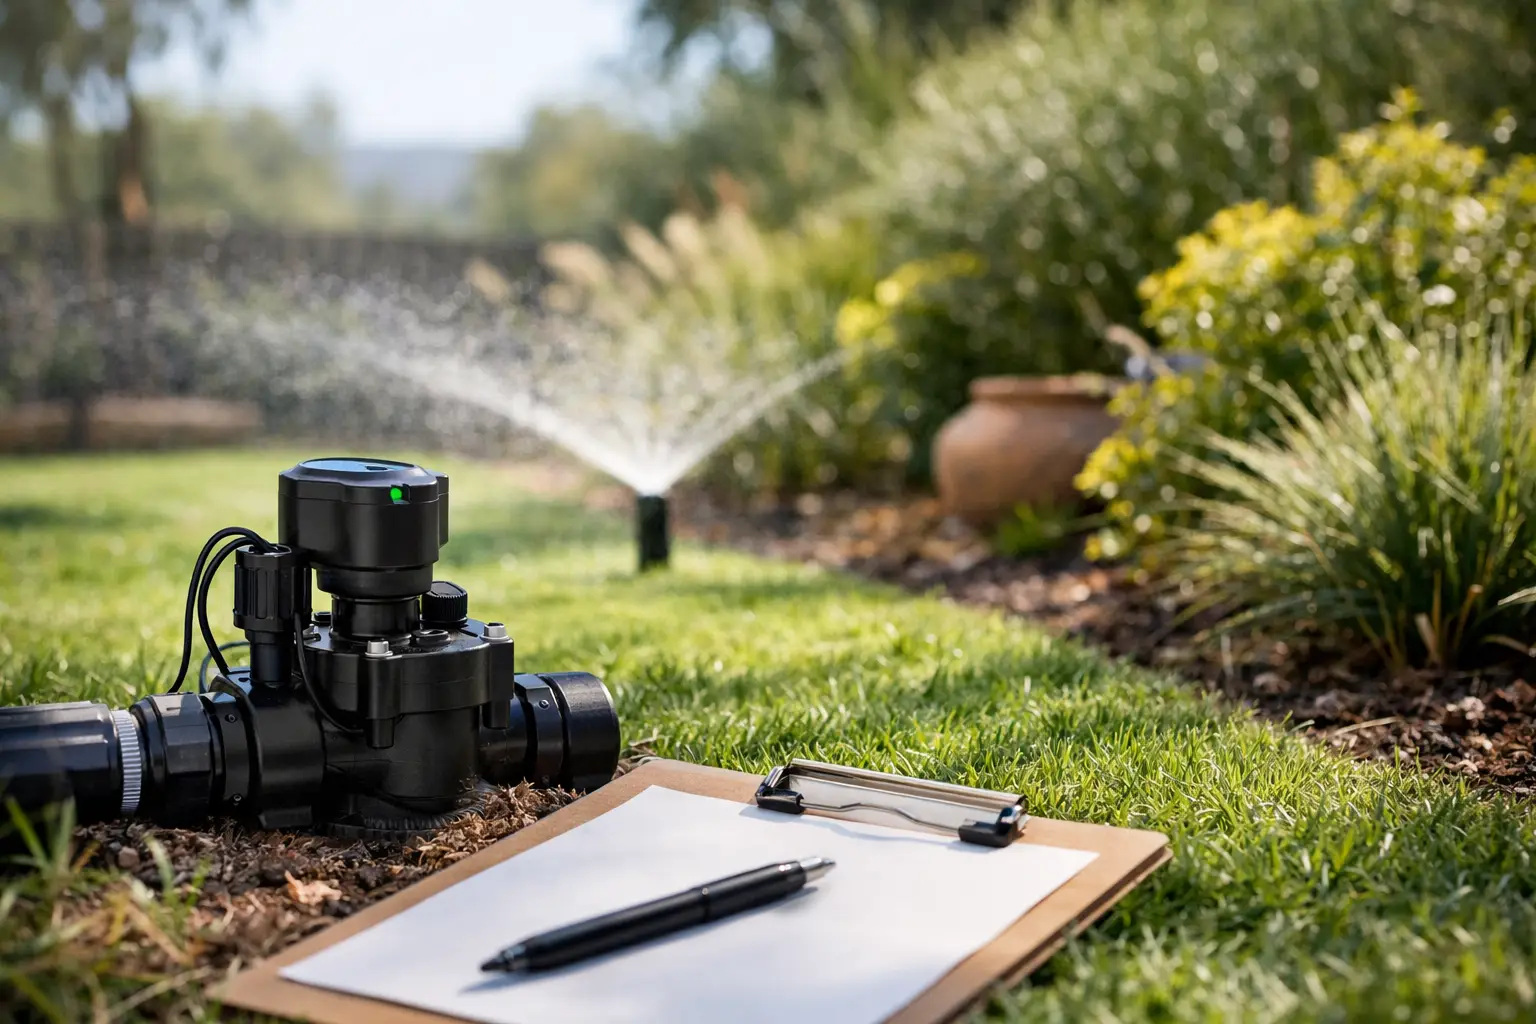
A smart valve can turn watering from a daily guess into a response to what is actually happening in your garden. But the right purchase depends on more than whether it connects to your mobile. This smart valve buying checklist helps you choose a setup that suits your taps, irrigation zones, plants and preferred smart-home system - without adding another app, hub or fiddly routine.
Start with the water system you already have
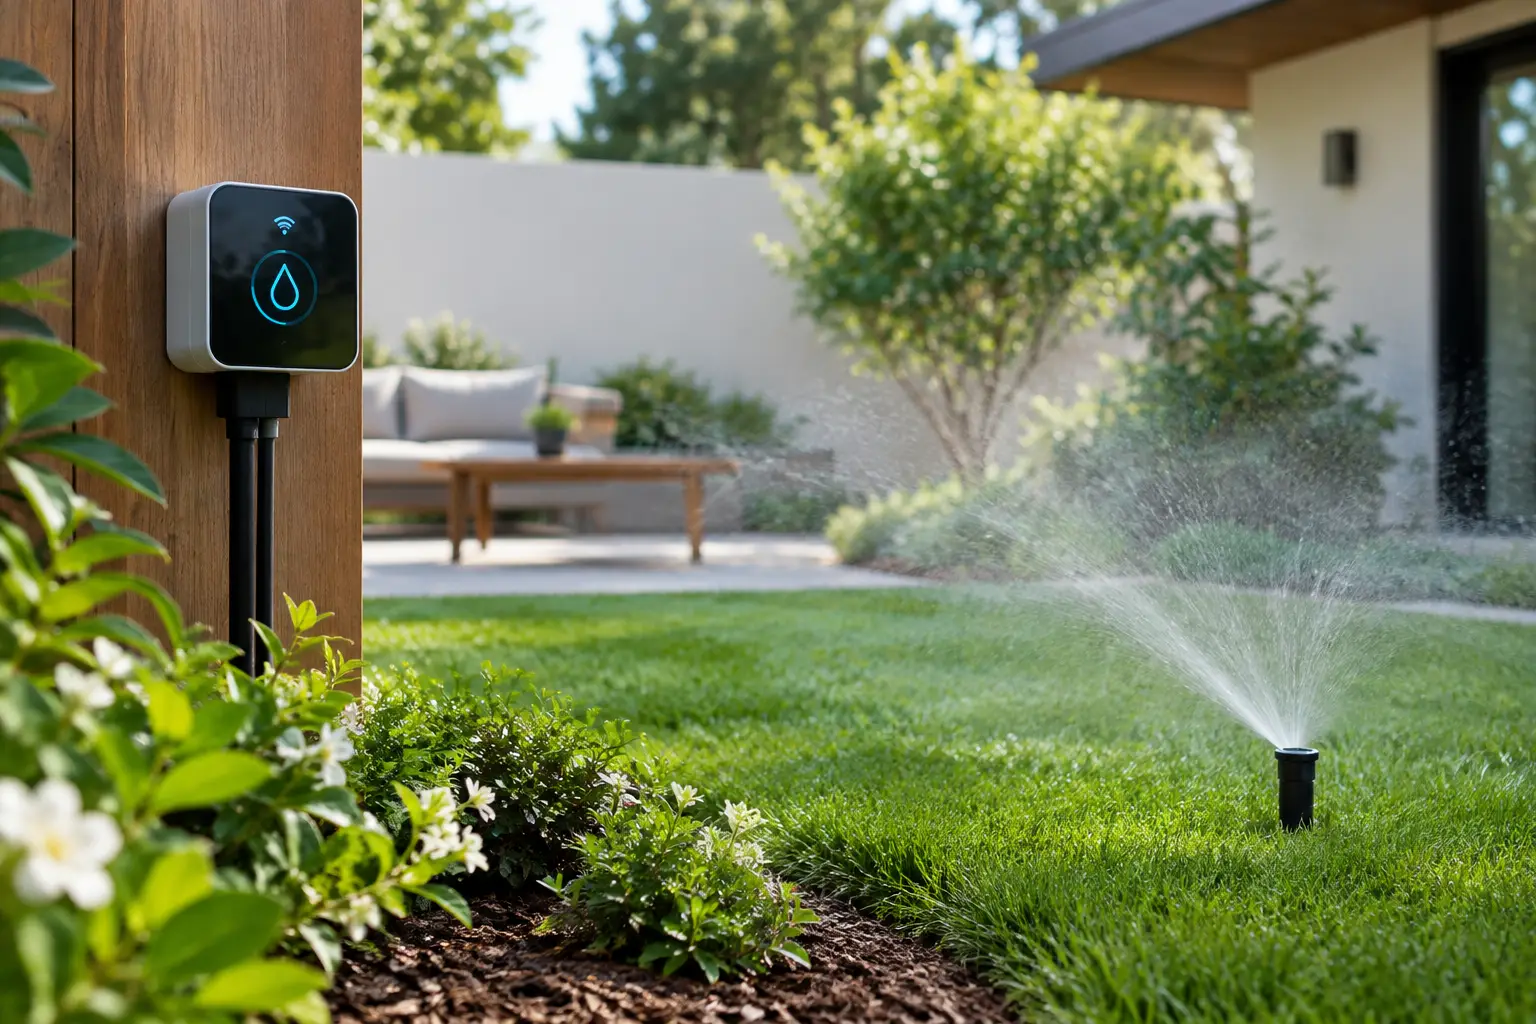
Before comparing brands or automation features, identify what the valve needs to control. A smart tap controller screws directly onto an outdoor garden tap and is often the simplest option for a hose, drip line, raised bed or courtyard garden. An in-line smart valve or controller is designed for a built-in irrigation system with solenoids, usually managing one or more fixed zones.
The distinction matters. A tap controller may be ideal for a renter with a private courtyard or a homeowner adding drip irrigation to veggie beds. It is less suitable if your lawn, beds and fruit trees are already supplied by separate buried irrigation lines. In that case, look for a controller that can operate the number of solenoid zones you have, or expand over time.
Check the physical connection as well. Australian outdoor taps commonly use a 20 mm or 3/4-inch BSP fitting, but adaptors, filters and backflow devices can affect the available space. If you are working with permanent plumbing, particularly where drinking water protection or mains connection rules apply, have a licensed plumber advise on the installation.
Use this smart valve buying checklist before you buy
A valve that is excellent in one garden can be a poor fit in another. Work through these checks with your actual garden in mind.
1. Count zones by plant need, not by convenience
A zone should group plants that need similar watering, not simply plants that sit near each other. A sunny lawn, shaded fern bed, citrus tree and native garden can all be within a few metres, yet their moisture needs may be very different.
If one valve controls plants with conflicting requirements, automation will only make the compromise happen more consistently. Separate high-use areas, such as vegetables in summer, from drought-tolerant established plants wherever practical. This gives you a meaningful choice: water one zone when its soil is dry, while leaving another alone.
Also consider future changes. If you are planning a new garden bed, lawn renovation or more pots on the patio, buying a system with spare capacity can be cheaper and tidier than replacing it later.
2. Check pressure, flow and irrigation type
Smart valves control water, but they cannot fix a poorly designed irrigation line. Low pressure may leave the last drippers barely running. High pressure can pop fittings or create uneven spray. A valve should be rated for your expected pressure and flow, while your irrigation layout should match its purpose.
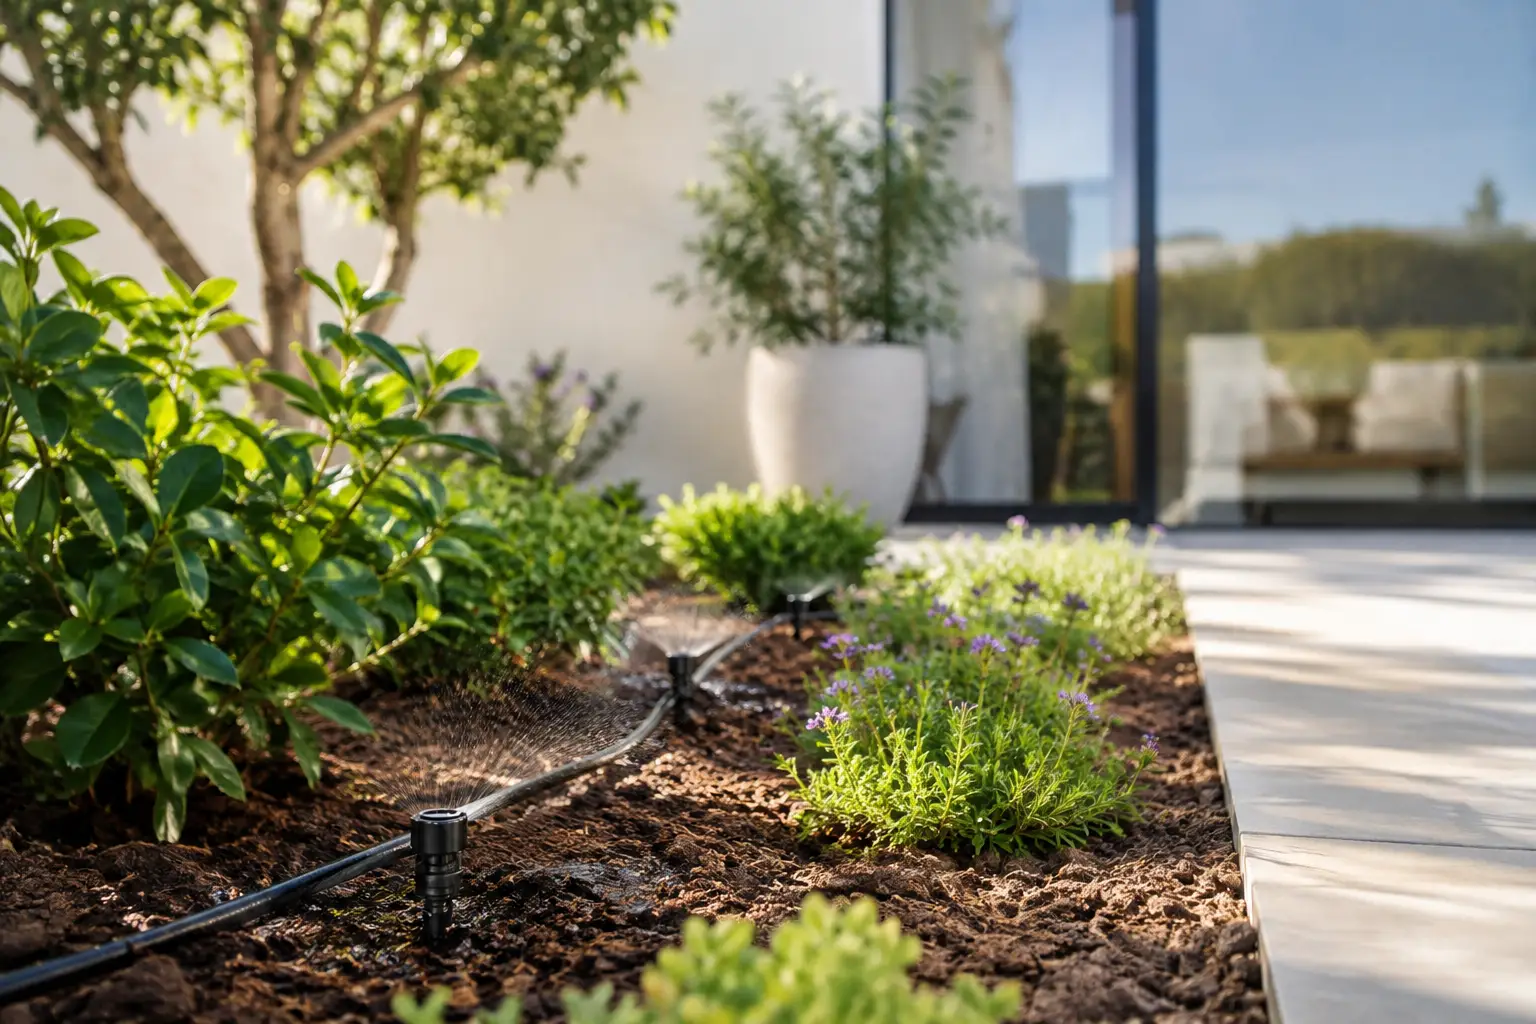
Drip irrigation is usually the better choice for beds, pots and veggie patches because it places water near the roots and avoids wetting foliage. Sprinklers may suit lawns, but wind, evaporation and overspray can make them less efficient. If a single valve controls a long mixed system, use pressure regulation and suitable emitters where needed.
It is worth timing a manual run before automating anything. Walk the zone, check every dripper and sprinkler head, and look for pooling, dry patches and leaking joins. Automation is most useful when the water delivery itself is reliable.
3. Choose connectivity that works where the valve lives
Your valve may be outside a brick wall, at the far end of the block or inside a metal meter cabinet. That is not a friendly environment for every wireless connection. Check the product's connectivity method and its realistic range in your garden, not just its claimed range on the box.
Wi-Fi can be convenient when outdoor coverage is strong, but a marginal signal can lead to missed updates and frustrating setup. Bluetooth often works well nearby but may need a gateway or another device for remote access. Thread and Matter are attractive for smart-home households because they are designed for local, interoperable control, though they still need the right border router in your home.
If Apple Home, Google Home or Home Assistant is already part of your setup, verify support before purchase. “Works with” should mean the functions you care about are available, not merely that the valve appears as an on-off accessory. Matter compatibility can reduce platform lock-in, but it does not automatically guarantee every advanced watering feature across every ecosystem.
4. Decide how the valve will be powered
Battery-powered tap valves are quick to install and useful where there is no outdoor power point. The trade-off is maintenance. Check expected battery life under your intended use, whether battery status is visible in the app, and what happens when power gets low. A valve should fail safely and alert you before it stops following schedules.
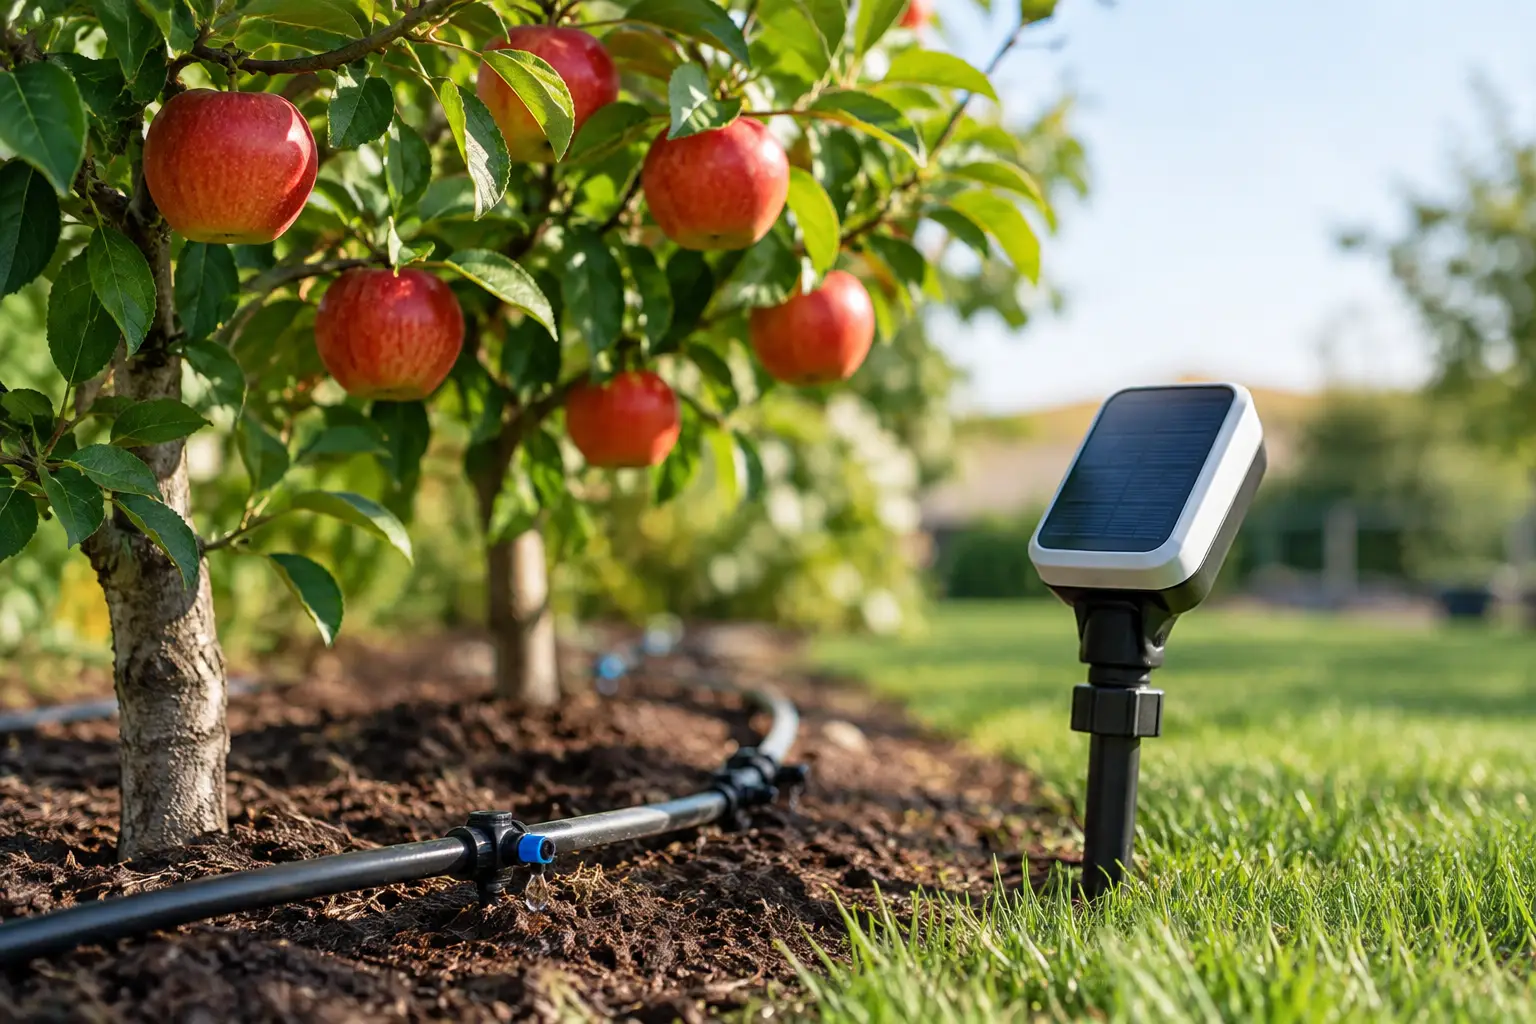
Hardwired irrigation controllers suit permanent multi-zone systems and avoid routine battery changes. Solar power can be useful for sensors and low-power devices in exposed positions, although winter shade, debris and orientation can reduce charging. Whatever the power source, make sure manual watering remains possible if your mobile is flat, your network is down or you simply need to test a line.
5. Look beyond schedules to soil moisture control
Fixed schedules are better than forgetting to water, but they are still guesses. A hot northerly wind, several cool days, mulch depth, recent rain and the plant's growth stage all change how quickly a zone dries.
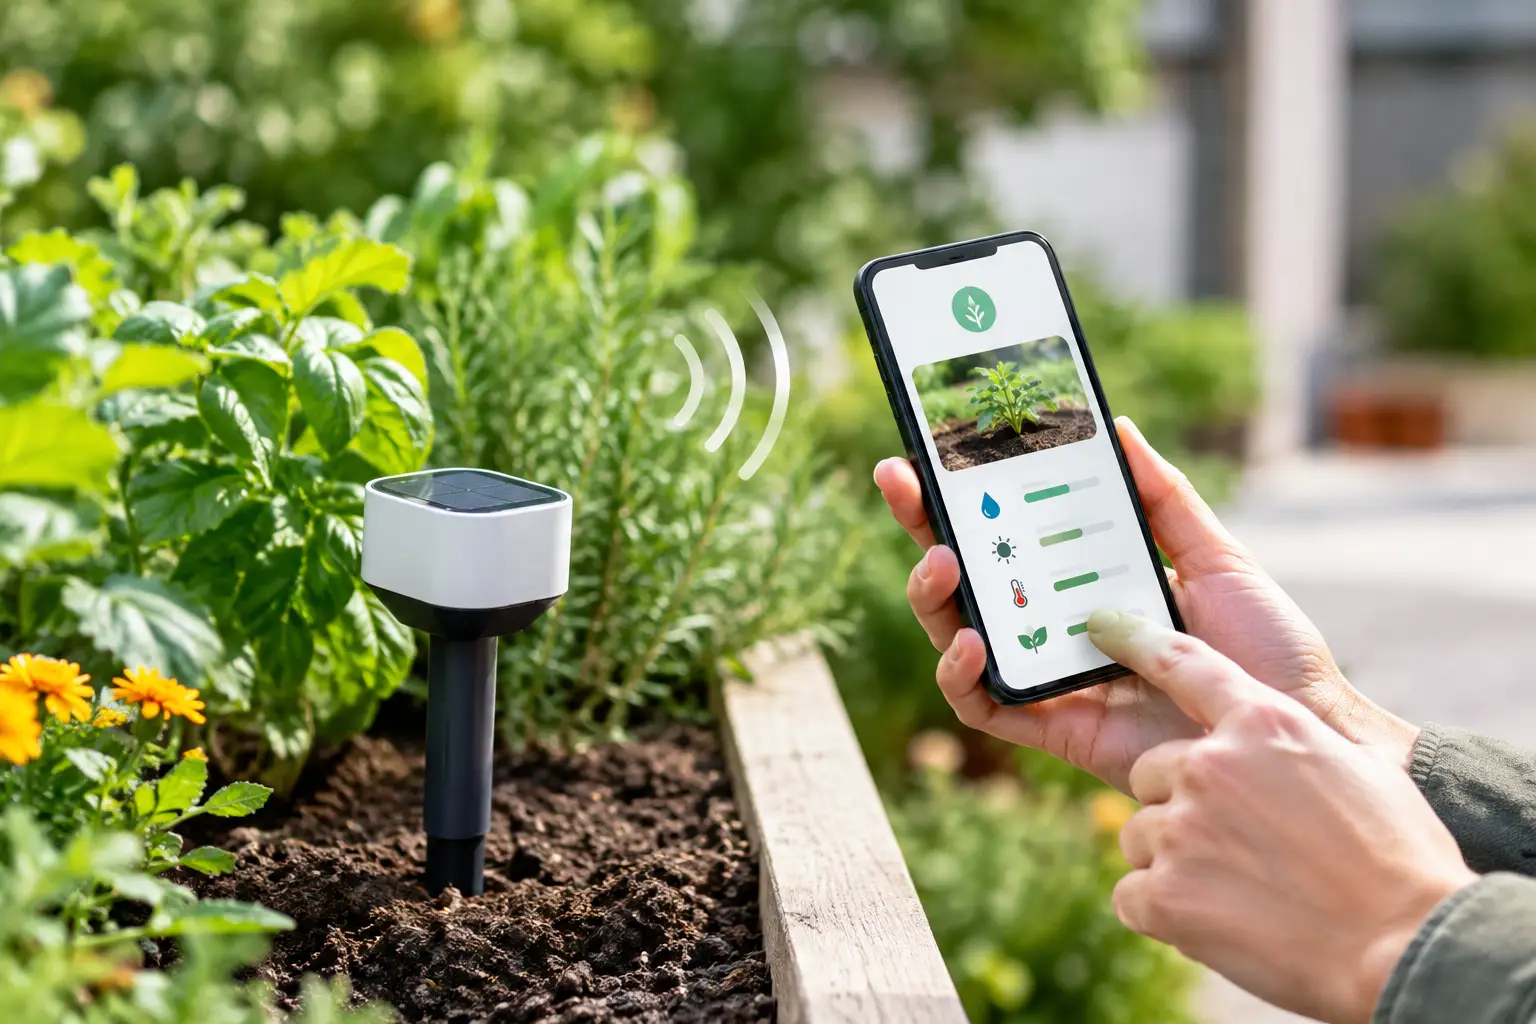
A smarter setup uses soil moisture as a decision point. You set a moisture target or acceptable range for a plant group, then the valve can water when the soil is genuinely dry enough to need it. Weather data adds another useful layer: skip or shorten watering when rain is likely, but do not treat a forecast as proof that the root zone is wet.
Sensor placement is crucial. Put the sensor at root depth near a representative plant, not beside a dripper where it will read artificially wet or in a dry edge of the zone where it will overstate demand. Large or varied zones may need more than one sensor. The goal is not maximum hardware. It is a reading that reflects the plants the valve is responsible for.
6. Check manual control, alerts and history
The best automation does not take control away. Look for quick manual open and close controls, a clear indication of whether water is currently flowing, and simple override options for heatwaves, fertiliser applications or new plantings.
Alerts are equally valuable. A notification for a low battery, lost connection, unusually long run or possible leak can prevent a minor problem becoming a wasted-water bill or a stressed garden. Water-use and run history help you spot patterns too. If one zone suddenly needs far more watering than usual, inspect it before increasing the schedule.
7. Avoid systems that create a new monthly chore
Smart garden products vary widely in how much infrastructure they require. Some need a dedicated hub, paid cloud plan or a separate app for each device. Others work locally with the smart-home platform you already use.
Choose the level of complexity you are happy to maintain. For many gardens, free, no hub, no subscription control is the most useful outcome. You should be able to see your zones, soil readings and watering activity in one place, rather than assembling a dozen disconnected services just to keep basil alive.
Match automation to the plants, not the marketing
A valve is only one part of a healthy-garden system. The real value comes from connecting the valve to plant knowledge, soil conditions and local weather. When you know a newly planted tomato needs steadier moisture than an established grevillea, you can organise them into separate zones and give each a realistic target.
That approach is particularly useful in Australian conditions, where a garden can shift from cool and wet to hot and drying within days. It also avoids overwatering after rain, one of the most common outcomes of timer-only irrigation. Less unnecessary watering means less runoff, lower water use and healthier roots.
Verde brings those decisions into one app: identify plants from a photo, set moisture targets, see sensor data and control compatible smart valves around the garden. The aim is practical rather than performative - one simple flow that helps each zone receive water when it needs it.
Set up for a useful first month
Once installed, resist the urge to automate every setting immediately. Run each zone manually and confirm water reaches the intended area. Add sensors, record the dry and wet readings you observe, then begin with conservative moisture thresholds and short watering durations.
For the first few weeks, inspect plants and soil regularly. A sensor is a strong guide, but it should be calibrated against what you can see: wilt, new growth, leaf colour, mulch moisture and the feel of soil below the surface. Adjust one variable at a time so you know what improved the result.
A good smart valve should quietly remove repetitive watering decisions, not make your garden feel like another system to manage. Buy for compatibility, accurate soil feedback and control you can understand at a glance, then let your plants - not a rigid timer - set the pace.