Soil Sensor Accuracy for Smarter Garden Watering
Soil sensor accuracy depends on placement, soil type and calibration. Learn how to get reliable readings and water each garden zone with daily confidence.
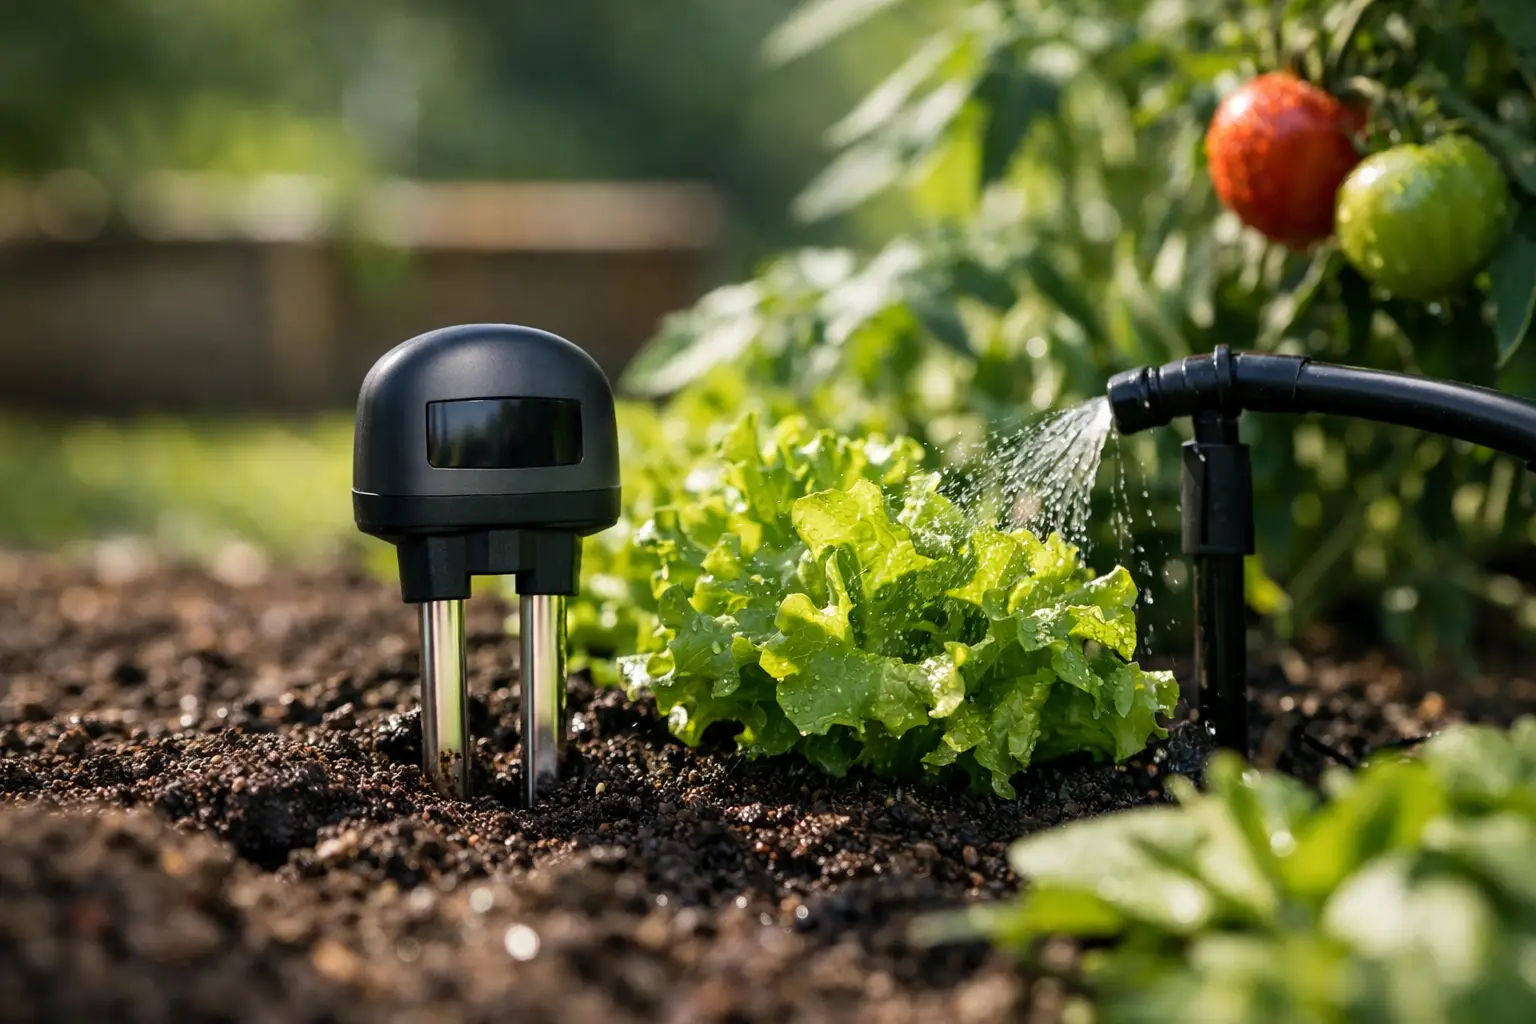
A soil sensor can stop you watering by guesswork, but only if its reading represents the soil your plants are actually using. Soil sensor accuracy is less about chasing a perfect number and more about placing, setting up and interpreting the sensor so it can make a useful watering decision for that garden zone.
For a thriving veggie bed, a thirsty lawn or a collection of pots on a hot Melbourne balcony, a reliable moisture reading creates a simple flow: soil dries to the plant’s chosen threshold, the valve runs, and watering stops when the soil has recovered. Get the setup wrong and even a quality sensor can report conditions that have little to do with the roots you are trying to protect.
What soil sensor accuracy really means
Most home-garden soil sensors do not directly measure the exact volume of water available to every root. They measure a physical property of the soil, usually electrical capacitance or conductivity, then convert it into a moisture reading. That reading is highly useful, but it is influenced by the soil around the probe.
A sensor can be consistent without being universally exact. If it reliably shows that your citrus zone is drying each week, and rises after a proper watering, it can automate irrigation very effectively. What matters is that the reading reflects meaningful change and that your watering targets are set for that specific soil, plant and location.
This is why a number such as 35% should not be treated as a universal instruction to water. Thirty-five per cent in sandy soil, heavy clay and a premium potting mix can mean very different things for plant roots. The most useful target is one you have confirmed in your own garden.
Placement has the biggest effect on soil sensor accuracy
A well-calibrated sensor in the wrong spot is still the wrong setup. Place it where the active roots are, not in the wettest patch, the driest edge or an area no plant is using.
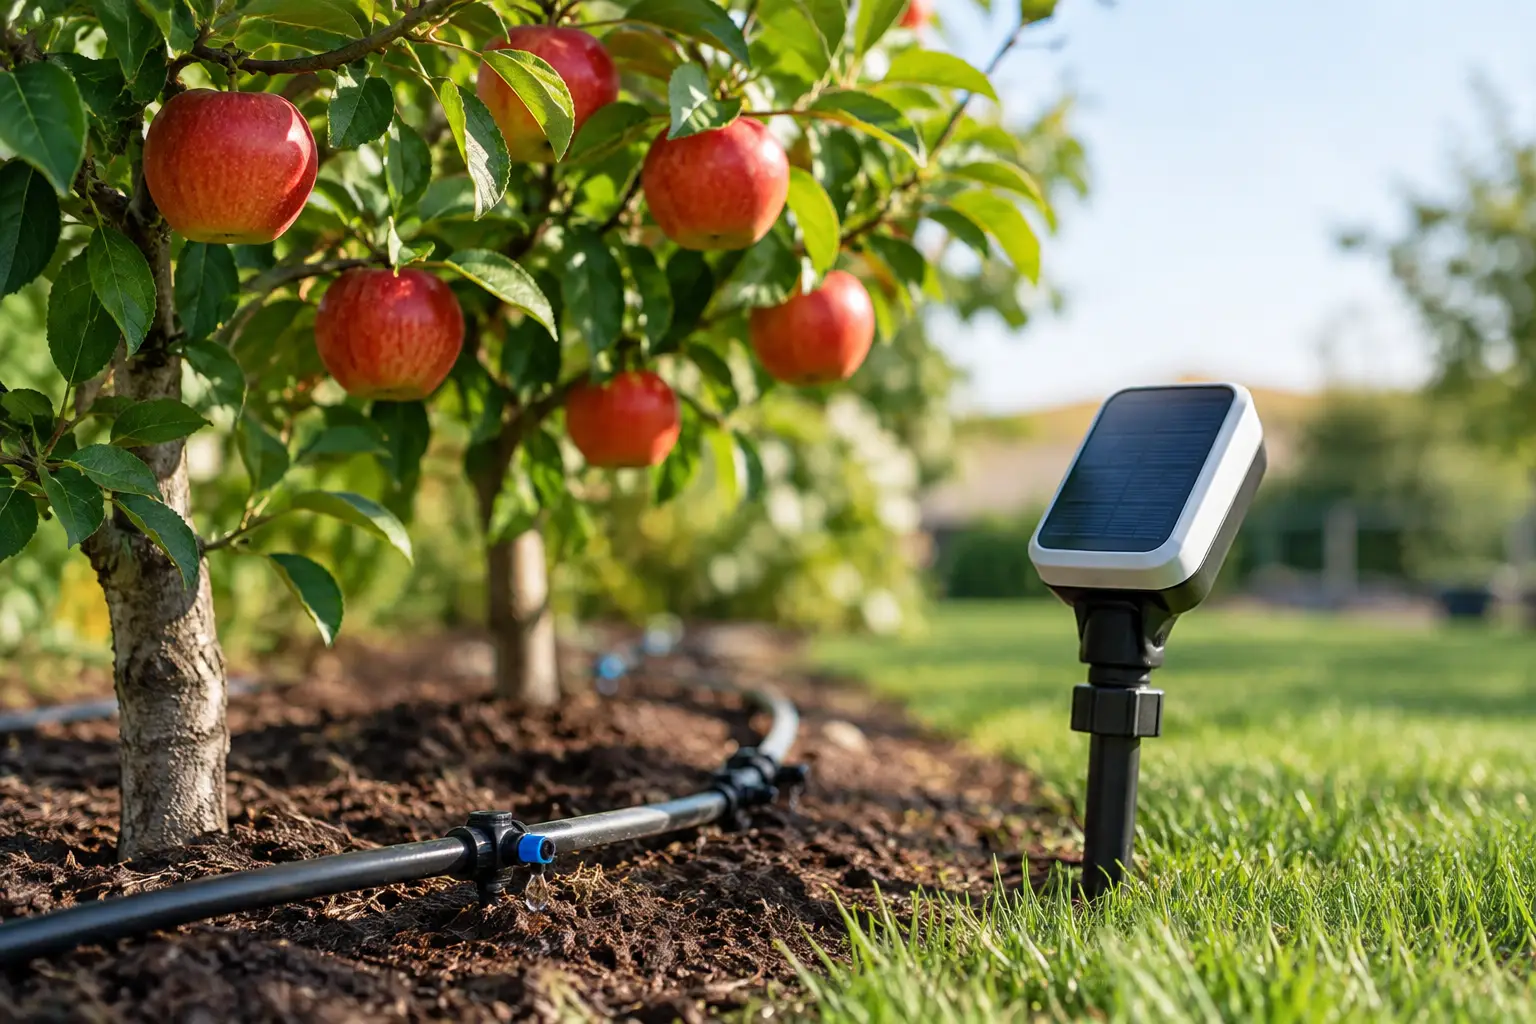
For established shrubs and trees, this is generally within the root zone but away from the trunk. In a veggie bed, place the sensor near the crop roots, rather than against the timber edge where soil may dry faster. In lawns, install it at the depth where most grass roots sit, not beneath a thick thatch layer or in a bare patch that heats up differently to the rest of the turf.
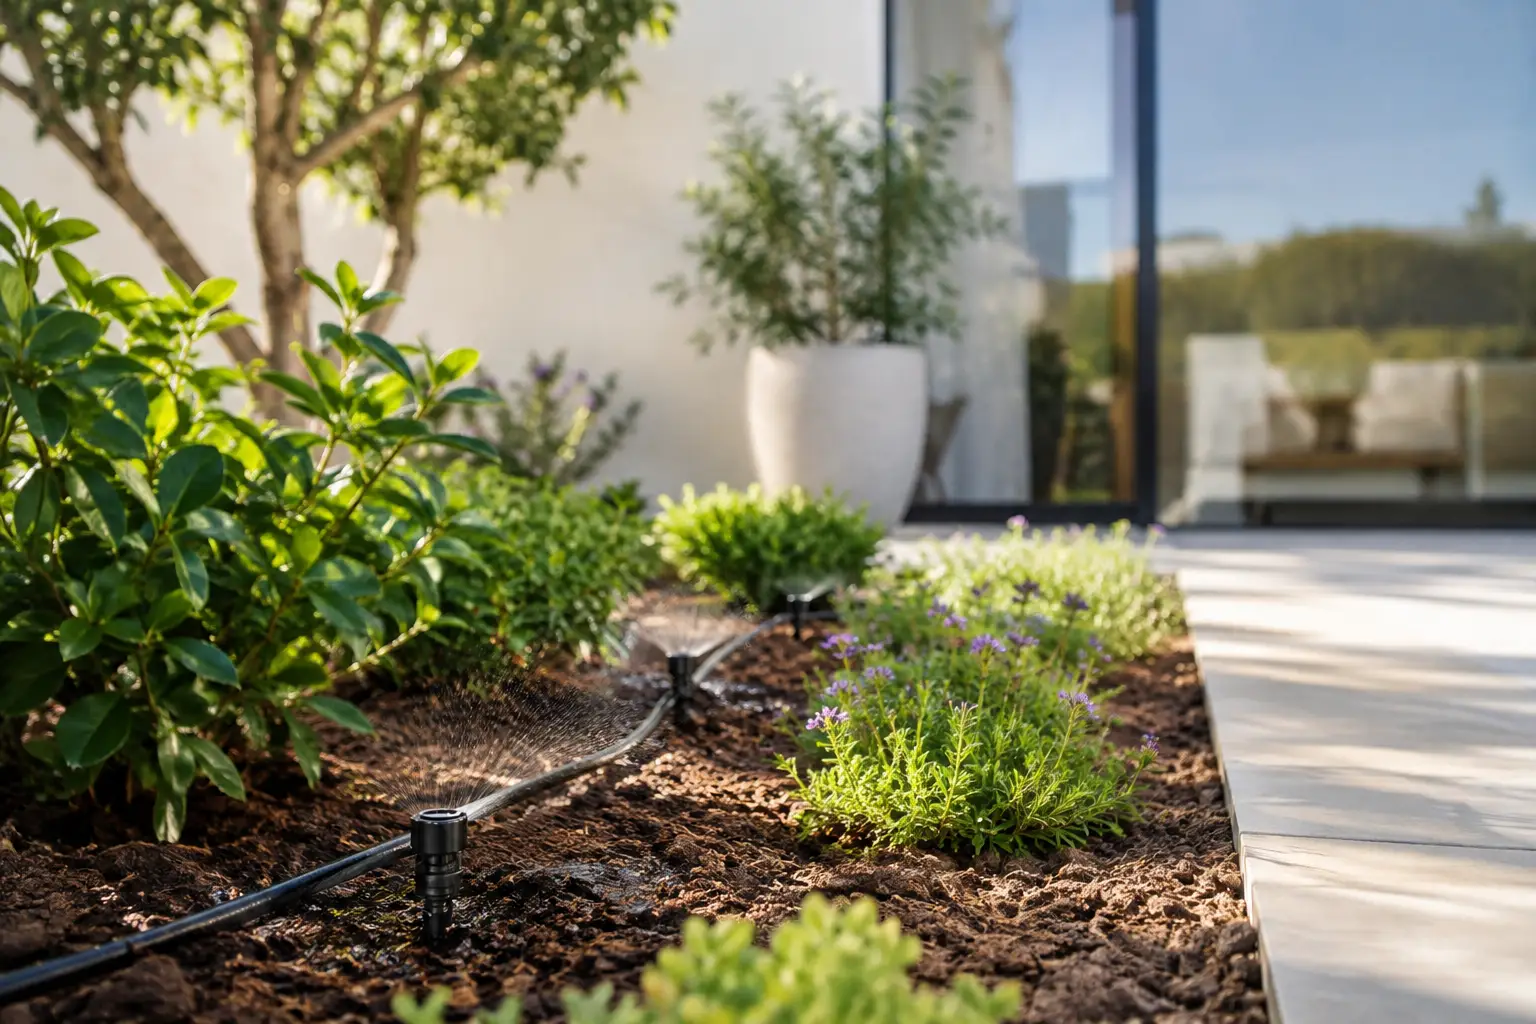
Avoid placing a sensor directly under a dripper or sprinkler stream. It may show a quick wet spike while most of the zone remains dry. Position it a short distance from the emitter, in the representative area the water is meant to reach. The goal is to measure moisture after it has moved through the soil, not the first splash of irrigation.
Depth matters too. A shallow sensor responds quickly to sun, wind and light watering. That can be useful for seedlings, herbs and shallow-rooted groundcovers. For established roses, citrus or deeper vegetables, a sensor installed a little lower can better reflect the moisture reserve available to mature roots. Large or mixed plantings may justify two sensors at different depths, particularly in sandy soils where water moves down quickly.
Choose one representative microclimate
One garden zone should ideally have similar exposure, soil and plant needs. A sensor cannot accurately represent a shaded fern beside a north-facing lavender bed, even if both sit behind the same tap.
If a zone contains plants with very different moisture needs, divide the irrigation where practical or set a conservative target that protects the more sensitive plants. This is where plant-level organisation makes a difference: you can see which plants share a valve, understand their preferred moisture range, and decide whether that grouping still makes sense.
Soil type changes what the reading means
Australian gardens often contain a surprising mix of soils. One backyard may have compacted clay near the house, sandy fill along a fence and raised beds filled with imported mix. Each holds and releases water differently.
Sandy soil drains quickly and tends to show rapid changes after watering or hot weather. Clay can hold moisture for longer, but may stay wet enough to restrict air around roots. A sensor reading that looks similar in both soils does not necessarily indicate the same plant condition.
Potting mixes add another variable. They can dry unevenly, especially in large pots where the top layer feels dry but the root ball remains damp. Push the probe into the part of the pot occupied by roots and ensure it has firm contact with the mix. A small air gap around the sensor can produce misleading readings.
Salts from fertiliser, bore water or repeated irrigation can also affect electrical readings, particularly with conductivity-based sensing. That does not make the sensor unusable. It means the trend over time is more valuable than comparing its number with a reading from another bed. If the reading shifts sharply after fertilising, observe the plants and soil manually for a few watering cycles before changing automation thresholds.
Calibrate against your garden, not a generic scale
The simplest calibration process is practical and repeatable. Start when the zone has been watered deeply enough for the relevant root area, then check the soil by hand near the sensor. For pots, lift the container as well. Record the sensor’s wet reading once excess water has drained away, rather than immediately after irrigation.
Then let the soil dry gradually while monitoring the plant and the reading. When the soil reaches the point at which the plant would benefit from water, record that number as the lower threshold. You are looking for the beginning of genuine dryness, not wilting, leaf scorch or stressed growth.
Repeat this through a few watering cycles. Your wet and dry reference points will become more trustworthy than a factory label because they account for your soil, sensor location and watering method. Adjust in small steps, especially for plants prone to root rot or heat stress.
For automated watering, use a sensible buffer. Rather than triggering at the absolute driest acceptable reading, set the threshold early enough for water to reach the roots before the plant is under pressure. In a hot, windy week, that buffer may need to be larger. During cool, rainy weather, the same zone may barely need irrigation at all.
Installation details that prevent bad data
Good contact between the probe and soil is essential. Make a narrow pilot hole where necessary, insert the sensor carefully, then gently firm the surrounding soil. Do not force a probe through hard stones or roots, as this can damage the sensor and leave an air pocket.
Keep the sensing section fully in the soil and protect any above-ground electronics from mower damage, foot traffic and direct sprinkler spray where the device is not designed for it. In garden beds, a small marker can prevent an enthusiastic weeder from pulling it out.
Check readings after installation. A flat value that never changes after rain or irrigation may indicate poor contact, a depleted battery, connection trouble or a sensor installed outside the wetted area. A wildly changing value can point to a loose probe, direct irrigation hitting the sensor, or a zone with uneven water distribution.
Seasonal checks are worthwhile. Mulch breaks down, roots expand, irrigation patterns change and soil can settle. In a rental courtyard, pots may be moved to follow the sun. A sensor that was perfectly placed in spring may no longer represent the zone by late summer.
Use sensor data with weather, not against it
A soil sensor tells you what has happened in the root zone. Local weather helps estimate what is likely to happen next. Both are useful, particularly through Australian summers when a cool morning can become a scorching afternoon.
Rainfall alone is not a reason to skip watering. A brief shower may wet mulch and leaves while adding little moisture below the surface. Conversely, a slow overnight soak can replenish the root zone enough to delay irrigation for days. Sensor data resolves that uncertainty.
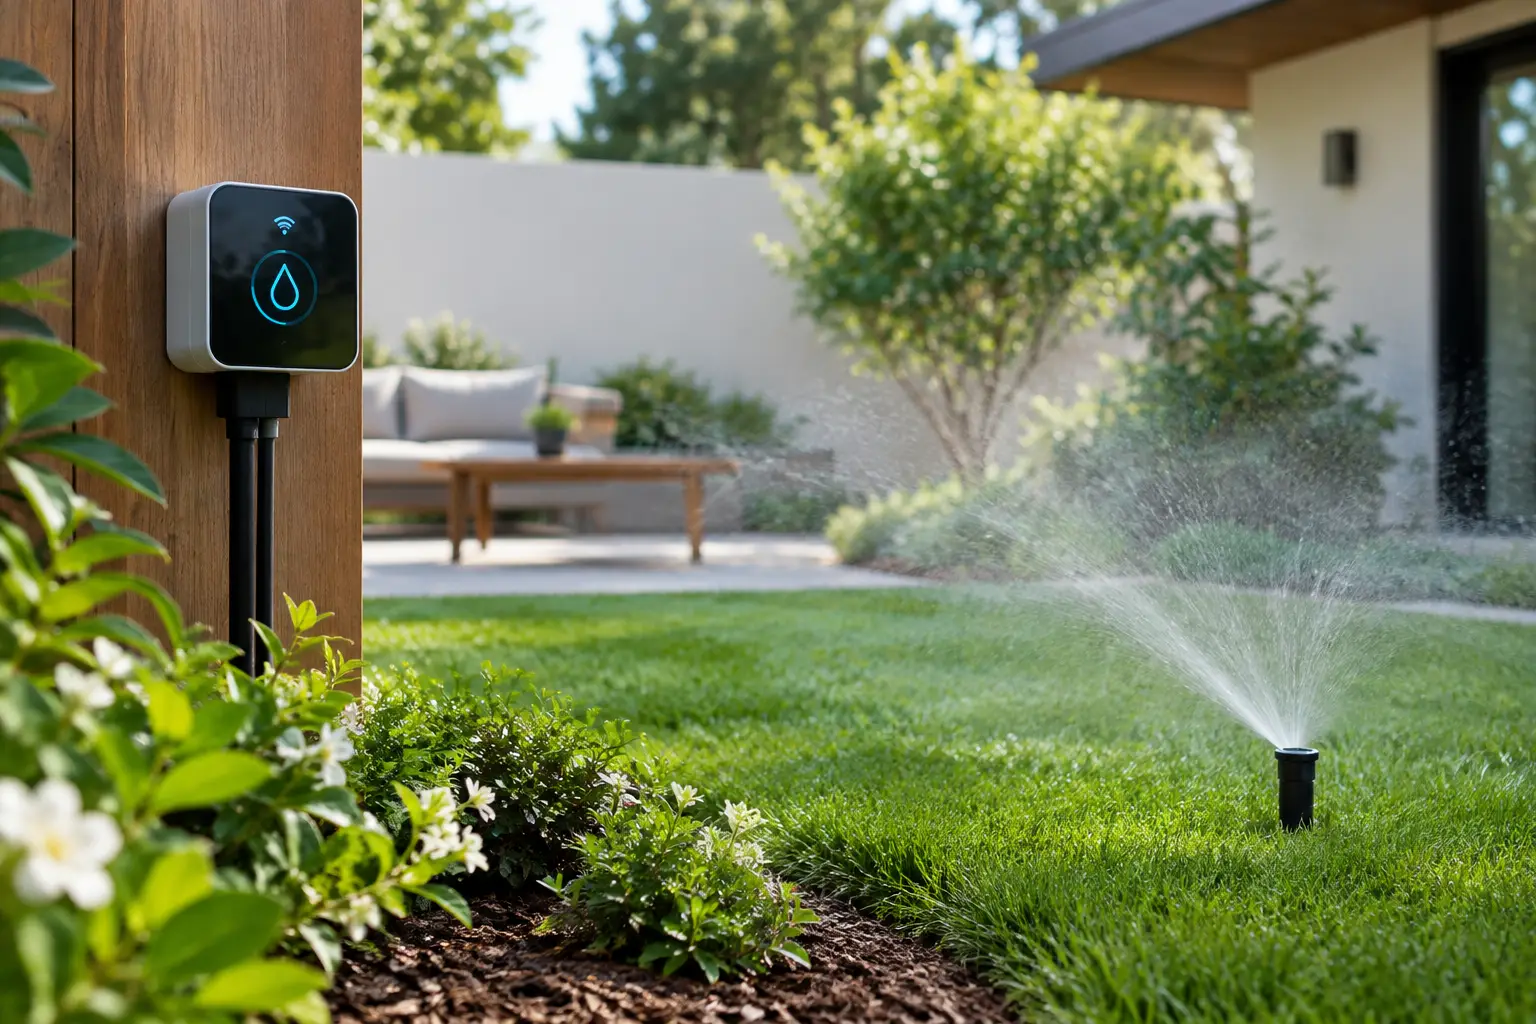
Weather-aware automation should also respect practical limits. If rain is forecast but soil is already approaching a plant’s dry threshold, it may be safer to water lightly than gamble on a forecast that misses your suburb. If soil is wet after sustained rain, the valve should stay closed even when a fixed schedule says it is watering day.
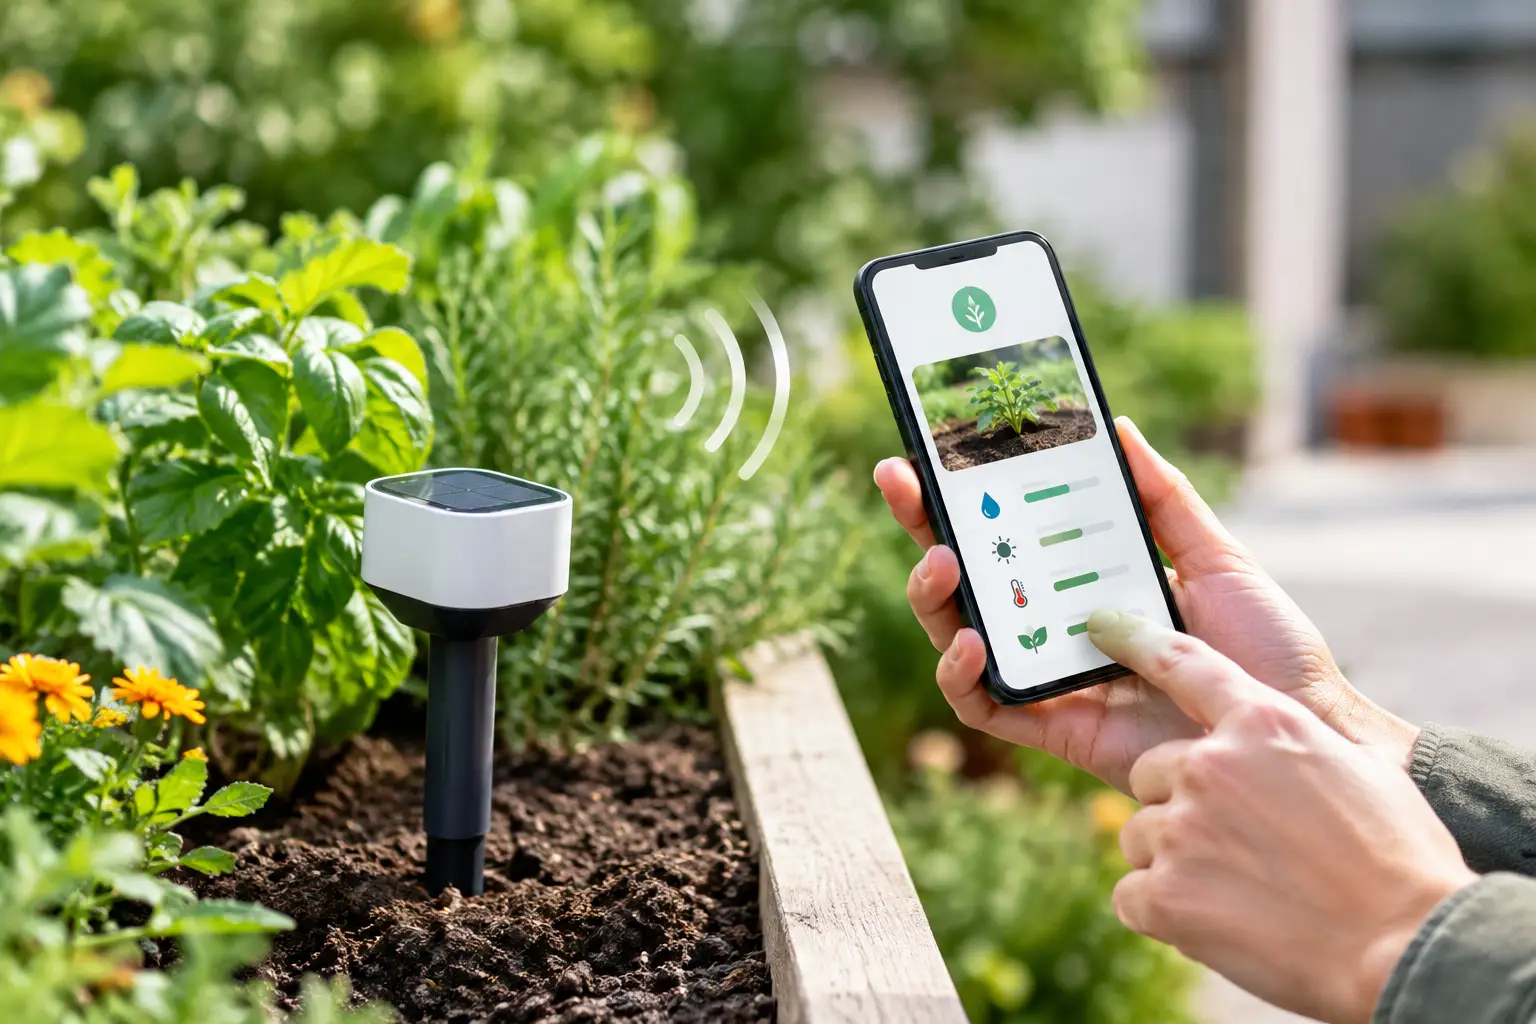
Verde brings these signals into one app, so moisture targets, live conditions, plant records and compatible smart valves can work as one simple flow rather than a dozen separate checks.
When one sensor is not enough
A single sensor is often enough for a small, uniform zone. It is less reliable in long garden beds, sloping blocks, lawns with sun and shade, or zones that combine drippers with sprinklers. Water may collect at the bottom of a slope while the upper section dries out. A fence line may remain cooler than an exposed centre bed.
Add another sensor when a zone routinely shows uneven plant health or when you suspect the irrigation is not distributing water evenly. Compare the trends, then fix the underlying issue if needed. More sensors should provide a clearer picture, not add complexity for its own sake.
The best result is not a dashboard full of numbers. It is a garden that receives water when roots need it, stays protected through heat and rain, and asks less of your time. Start with one representative zone, learn its wet and dry pattern, and let the next watering decision be based on the soil rather than the calendar.