How to Track Plant Watering History Easily
Track plant watering history to spot dry spells, prevent overwatering and make smarter, weather-aware decisions for every garden zone at home with clarity.
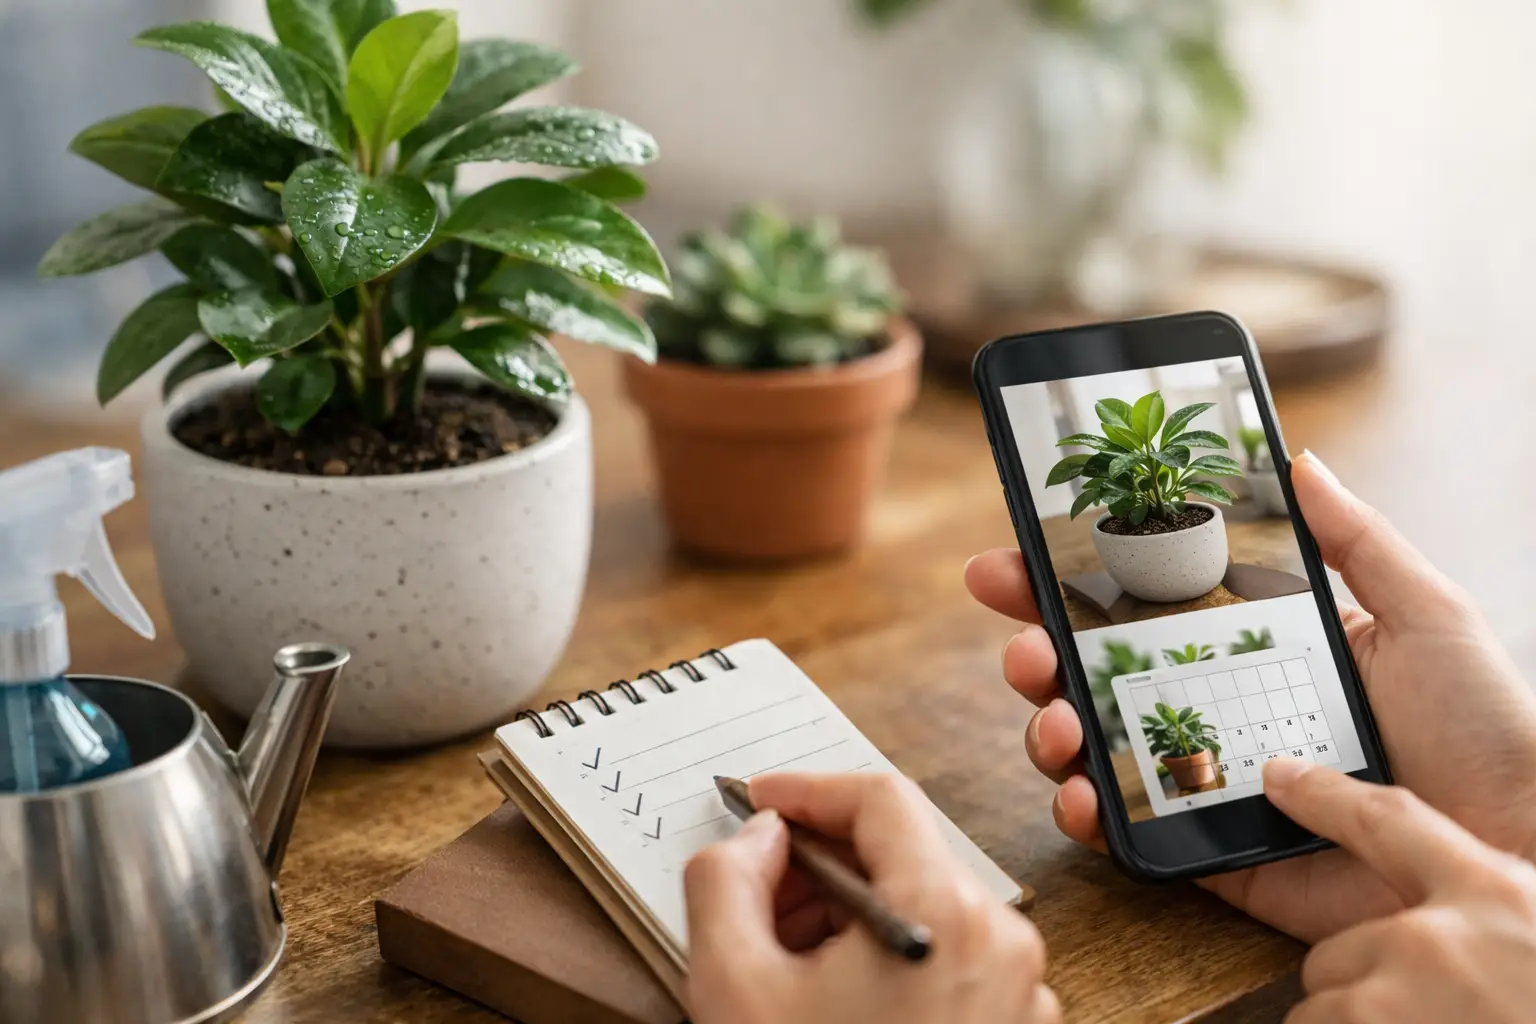
A wilting basil plant and a soggy kangaroo paw can both look like a watering problem. The difference is that one needs water and the other may be suffering from too much of it. When you track plant watering history, you replace guesswork with a clear record of what happened in the soil, what the weather did, and how each plant responded.
That matters in Australian gardens, where a warm northerly, a run of humid days or a sudden downpour can change watering needs quickly. A fixed timer can tell you when a valve opened. A useful history tells you whether that water was needed.
What a useful watering history should show
A handwritten note saying “watered the garden Saturday” is better than relying on memory, but it is rarely enough once you have pots, beds, lawn, herbs and different sun exposures to manage. Watering history becomes genuinely useful when it connects an event to the plant or zone affected.
Start with the basics: the date and time, the plant or garden zone, how long water ran and whether the watering was manual, scheduled or automatic. Then add the context that changes the decision: soil-moisture reading, rainfall, local temperature and a brief observation of plant condition.
For example, “rear veggie bed watered for 12 minutes” is an event. “Rear veggie bed watered for 12 minutes at 6:15 am, soil moisture was below the target range after two hot days, tomatoes looked healthy” is a decision you can learn from. After a few weeks, you can see whether 12 minutes was consistently enough, excessive or only appropriate during heat.
The detail should match your garden. A renter with six balcony pots may only need plant name, moisture reading and watering date. A larger suburban garden may need zones, valve activity, sensor readings, rainfall and notes for newly planted areas. The point is not to build a spreadsheet you will abandon. It is to keep the information that helps you make the next watering call.
How to track plant watering history without creating another chore
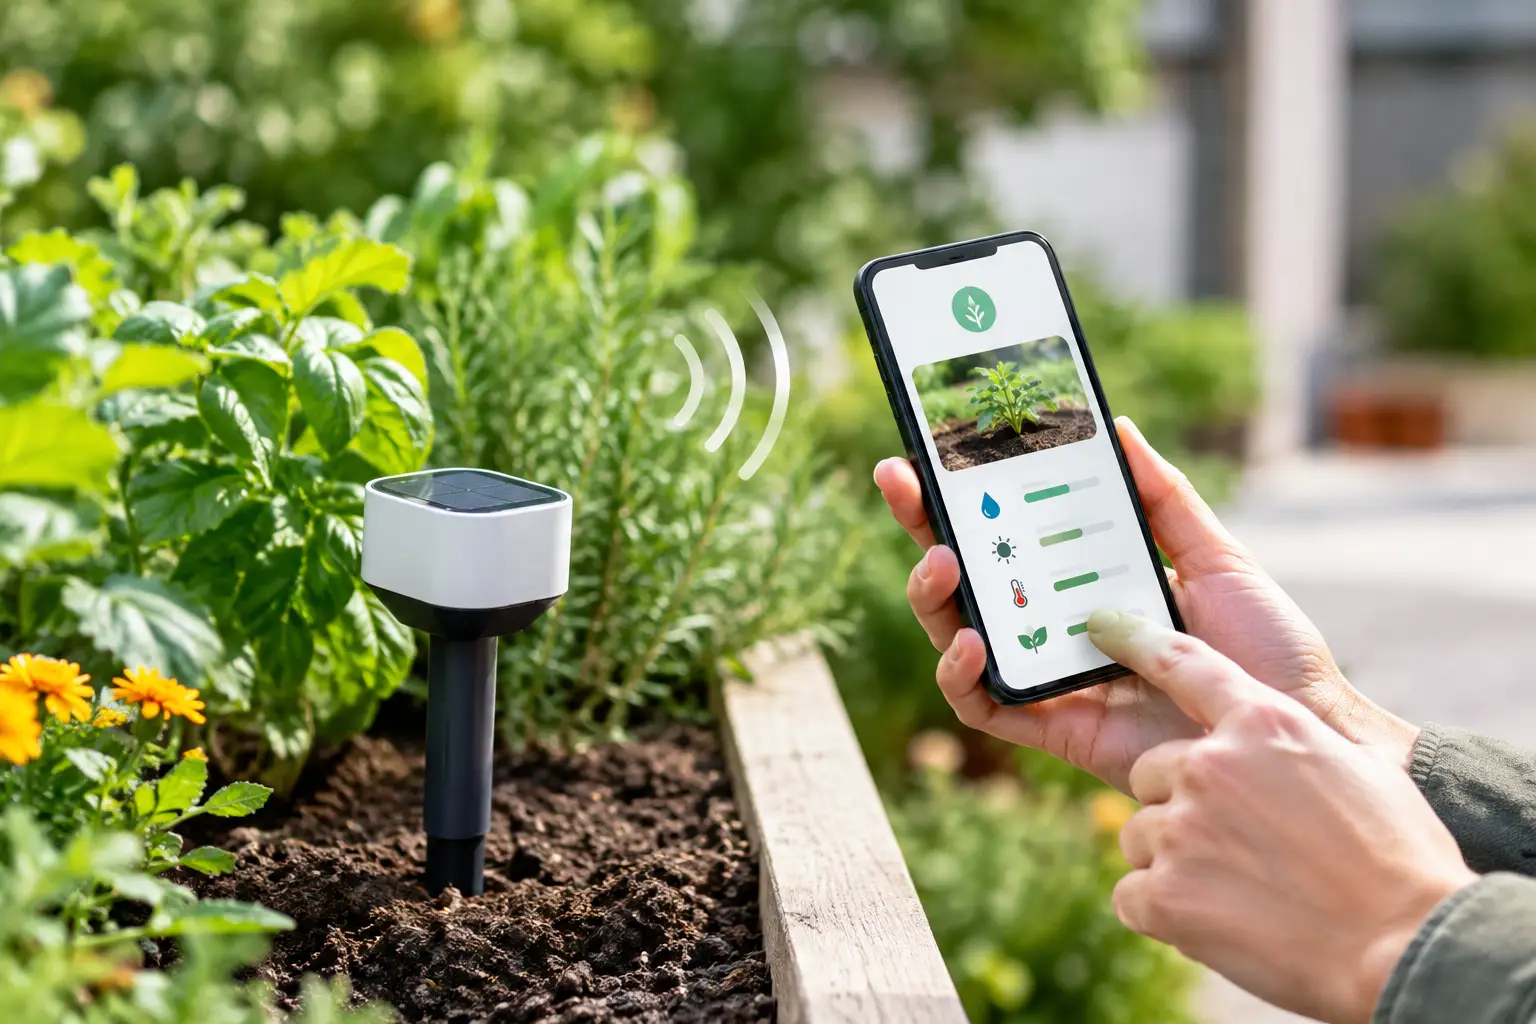
The easiest system is one that records most activity automatically. If you are already using connected soil sensors and smart valves, watering events and moisture readings can be logged as they happen. That removes the most error-prone part of garden recordkeeping: remembering to write something down after a long day.
Set up your garden in practical zones first. Group plants only where they genuinely share similar conditions and water needs. A sunny raised vegetable bed, a shaded fern corner and drought-tolerant natives should not sit in one watering group simply because they are close together. Each zone needs a defined moisture target that reflects its plants, soil and exposure.
For individual plants in pots, a plant-level record is often more valuable than a zone record. Pots dry at different speeds depending on their size, material, position and root growth. A terracotta pot on a west-facing patio can need attention far sooner than a glazed pot beside it.
If your system cannot log everything automatically, keep manual notes deliberately short. Record only unusual events: a deep soak for a new shrub, a missed watering while away, a heatwave adjustment, repotting or a plant that looked stressed. Routine records can come from valve schedules and sensor data. Your notes should explain the exceptions.
Give every record a reason
A history full of timestamps is useful, but a history with reasons is better. Label a watering action as one of three things: moisture-triggered, weather adjustment or manual intervention. These labels make patterns easy to read later.
Moisture-triggered watering means the soil fell below the target you set. Weather adjustment covers decisions such as pausing irrigation after steady rain or giving containers a little extra water before several very hot days. Manual intervention is for the real-world moments automation cannot fully judge, such as watering in a new plant, flushing a pot or responding to visible stress.
This distinction also helps diagnose poor outcomes. If a plant is struggling after repeated moisture-triggered watering, its target range may be wrong, the sensor may be poorly positioned or drainage may be the actual issue. More water is not automatically the answer.
Read the pattern, not one watering event
One moisture reading is a snapshot. Watering history shows the trend. Look at how quickly a zone falls from its upper moisture threshold to its lower threshold, then compare that rate with weather and plant condition.
A rapid drop can be normal in a shallow pot during a 35°C spell. It can also point to a sensor placed too close to a dripper, roots that have filled the pot, hydrophobic soil or a leak. A slow decline after watering is usually expected. Moisture that stays high for days in warm weather deserves attention, particularly for plants that prefer free-draining conditions.
The goal is not to chase a perfectly flat moisture graph. Plants do not need identical soil moisture every hour. They need to remain within a suitable range, with sensible wet and dry cycles for their species and growing conditions. Frequent tiny waterings can keep the surface damp while leaving roots shallow. Less frequent, deeper watering may be better for established plants in the ground, while seedlings and small containers often need a different approach.
This is where historical visibility earns its place. You can compare a plant’s response before and after changing a target, a valve runtime or sensor position. Rather than changing three things at once, adjust one variable and give the garden enough time to respond.
Use history to prevent overwatering
Overwatering is often hidden behind good intentions. The lawn looks a bit dull, a leaf drops from a citrus, and the tap goes on. Yet yellowing leaves, fungus gnats, root stress and poor growth can all be made worse by wet soil.
Review the last seven to 14 days before adding extra water. Has the zone already received rainfall? Did the valve run recently? Did moisture recover after watering, and how long did it remain elevated? If the soil is still within the target range, waiting is usually the safer choice.
Pay close attention after rain. Rainfall totals are helpful, but they do not tell the whole story. A short heavy shower may run off dry soil or barely reach sheltered pots. Several days of gentle rain may soak a bed deeply. Soil moisture data and a simple visual check give the rainfall record meaning.
It also pays to record changes in season. A schedule that worked in January may be excessive by late autumn. Mulch, shade from growing trees, a new shade sail and maturing plants can all alter how quickly soil dries. Your history should support gradual seasonal adjustments rather than locking your garden into last summer’s settings.
Make automation accountable
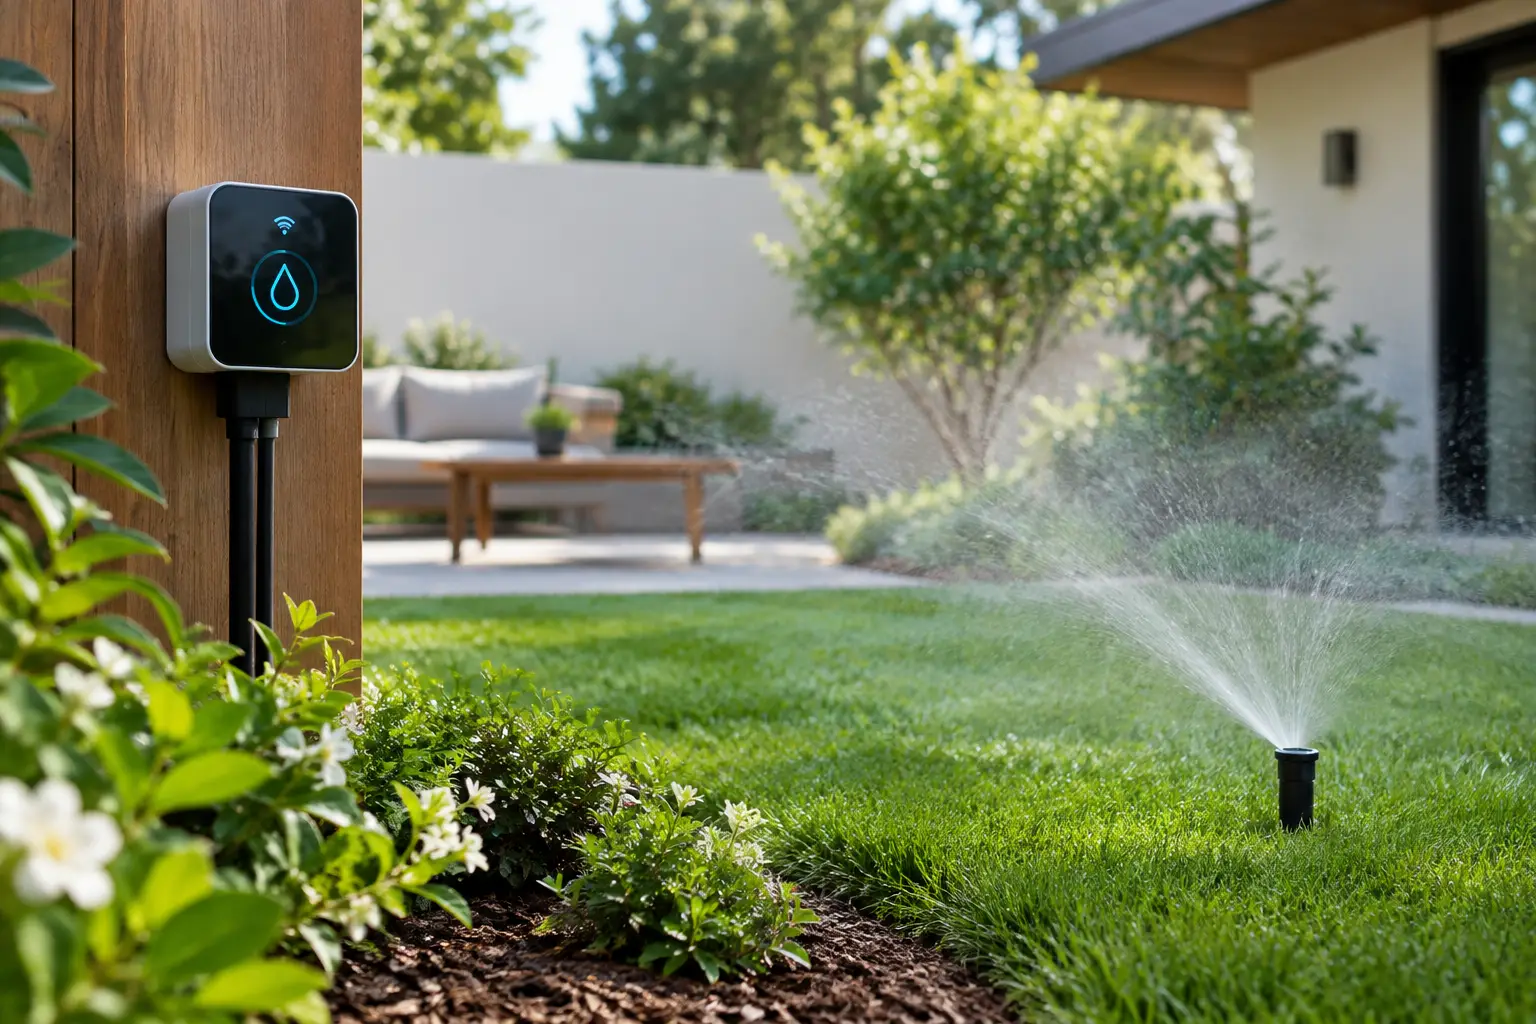
Automation should reduce chores, not remove your ability to understand what is happening. A good system lets you see when a valve opened, why it opened, what the sensor measured and whether weather conditions changed the outcome. That is the difference between a timer following orders and a garden system making visible, practical decisions.
In Verde, plant profiles, moisture targets, live soil conditions, weather-aware watering and valve control can sit in one view. That makes it easier to link a plant’s needs to the irrigation action, rather than switching between a plant app, a weather app and a separate timer. It also means an automation can be checked, refined or paused when garden conditions change.
For smart-home households, interoperability matters too. A compatible setup can fit alongside Apple Home, Matter, Google Home or Home Assistant without adding another hub to maintain. But compatibility is only half the job. The value comes from turning connected devices into a history you can act on.
Review your garden once a week
Set aside five quiet minutes each week, ideally on the same day. Check the zones that needed the most water, the zones that stayed wetter than expected and any plants you have recently moved, planted or repotted. Look for exceptions rather than reading every entry.
If a particular zone keeps triggering earlier than expected, inspect the practical causes: mulch depth, dripper coverage, blocked emitters, exposed soil or a sensor sitting in an unrepresentative spot. If it is consistently too wet, check drainage, shade, irrigation runtime and whether the plants in that zone really belong together.
A watering history is not there to make gardening feel clinical. It gives you the confidence to leave the tap off when soil is already doing fine, and to step in early when a plant is genuinely asking for help. Over time, your garden becomes easier to read, one recorded decision at a time.