Best Watering System for Vegetable Garden
Find the best watering system for vegetable garden beds in Australia, from simple drip lines to soil-sensor automation that responds to weather and roots.
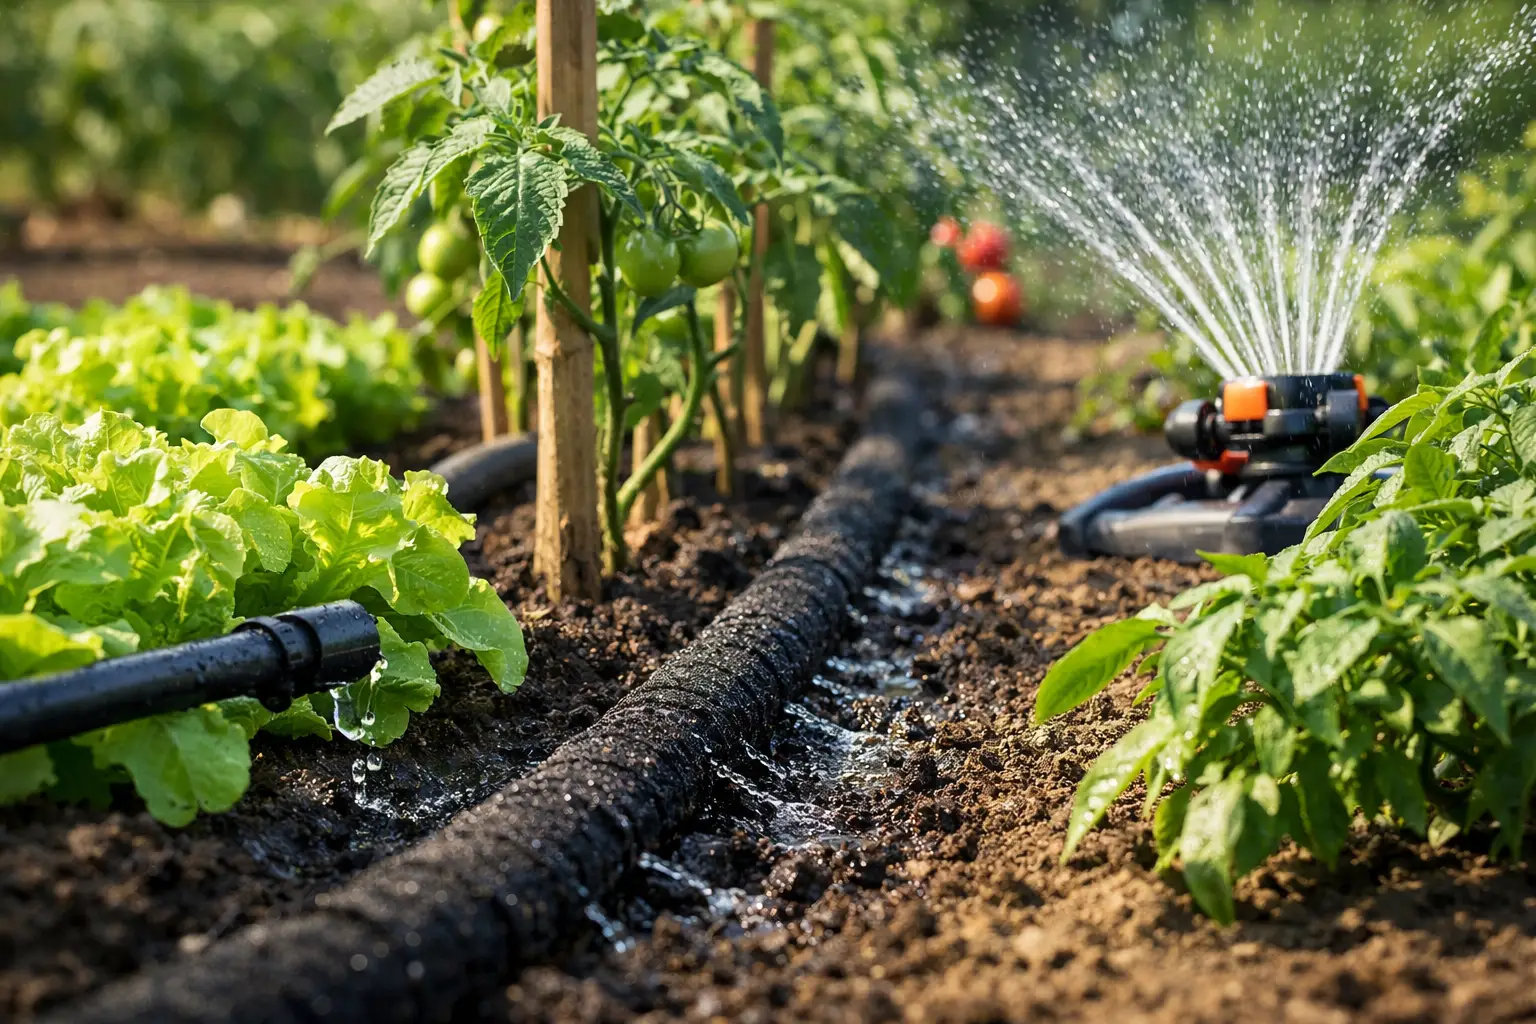
A tomato bed can look thirsty at lunchtime, then receive a decent storm before dinner. That is why the best watering system for vegetable garden beds is not simply the one that runs most often. It is the one that delivers water slowly to the root zone, adapts to your layout, and avoids watering when the soil has already had enough.
For most Australian home gardens, drip irrigation is the strongest starting point. Add a smart valve and soil-moisture sensor when you want the system to make better decisions without checking the forecast, moving sprinklers or guessing beneath the mulch. The right setup depends on your beds, soil type, water pressure and how much hands-off control you want.
What makes the best watering system for vegetable garden beds?
Vegetables need consistent moisture, but consistency does not mean identical watering every day. Lettuce has shallow roots and dries out quickly in warm weather. Tomatoes, zucchini and beans develop deeper roots, but can still struggle when they swing from bone-dry soil to a heavy soak. Seedlings need gentler, more frequent watering than established plants.
A good system puts water where roots can use it, rather than spraying paths, leaves and fences. It should also be easy to adjust as one bed changes from summer tomatoes to winter greens. Look for three things: slow application, separate zones where practical, and a way to account for actual soil moisture.
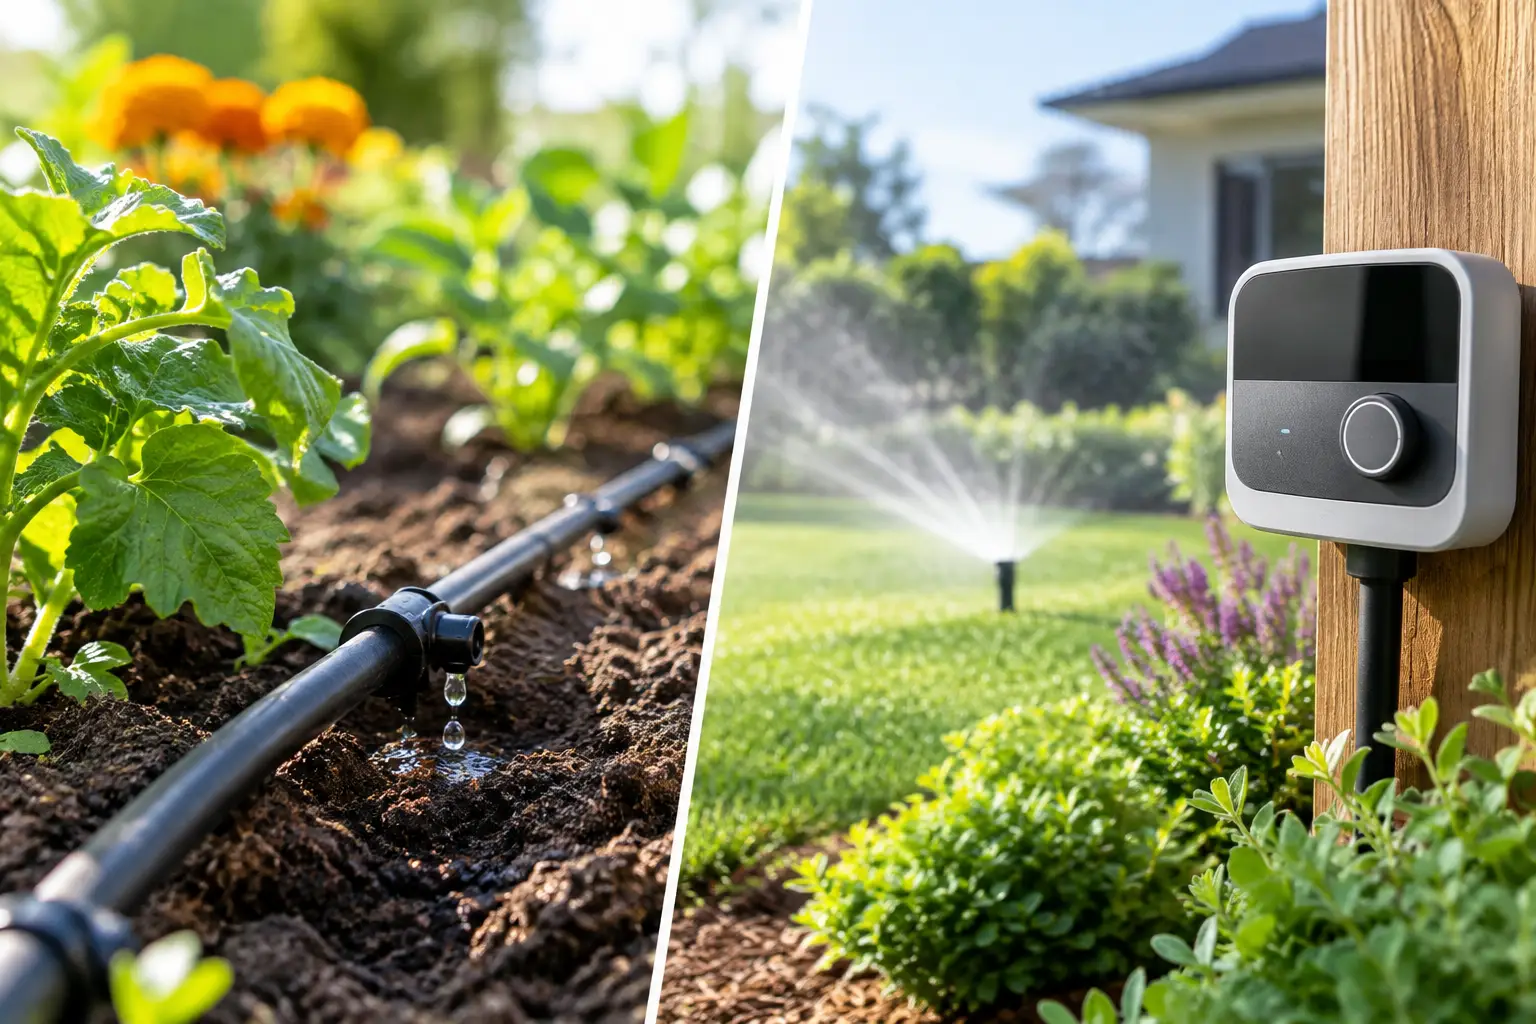
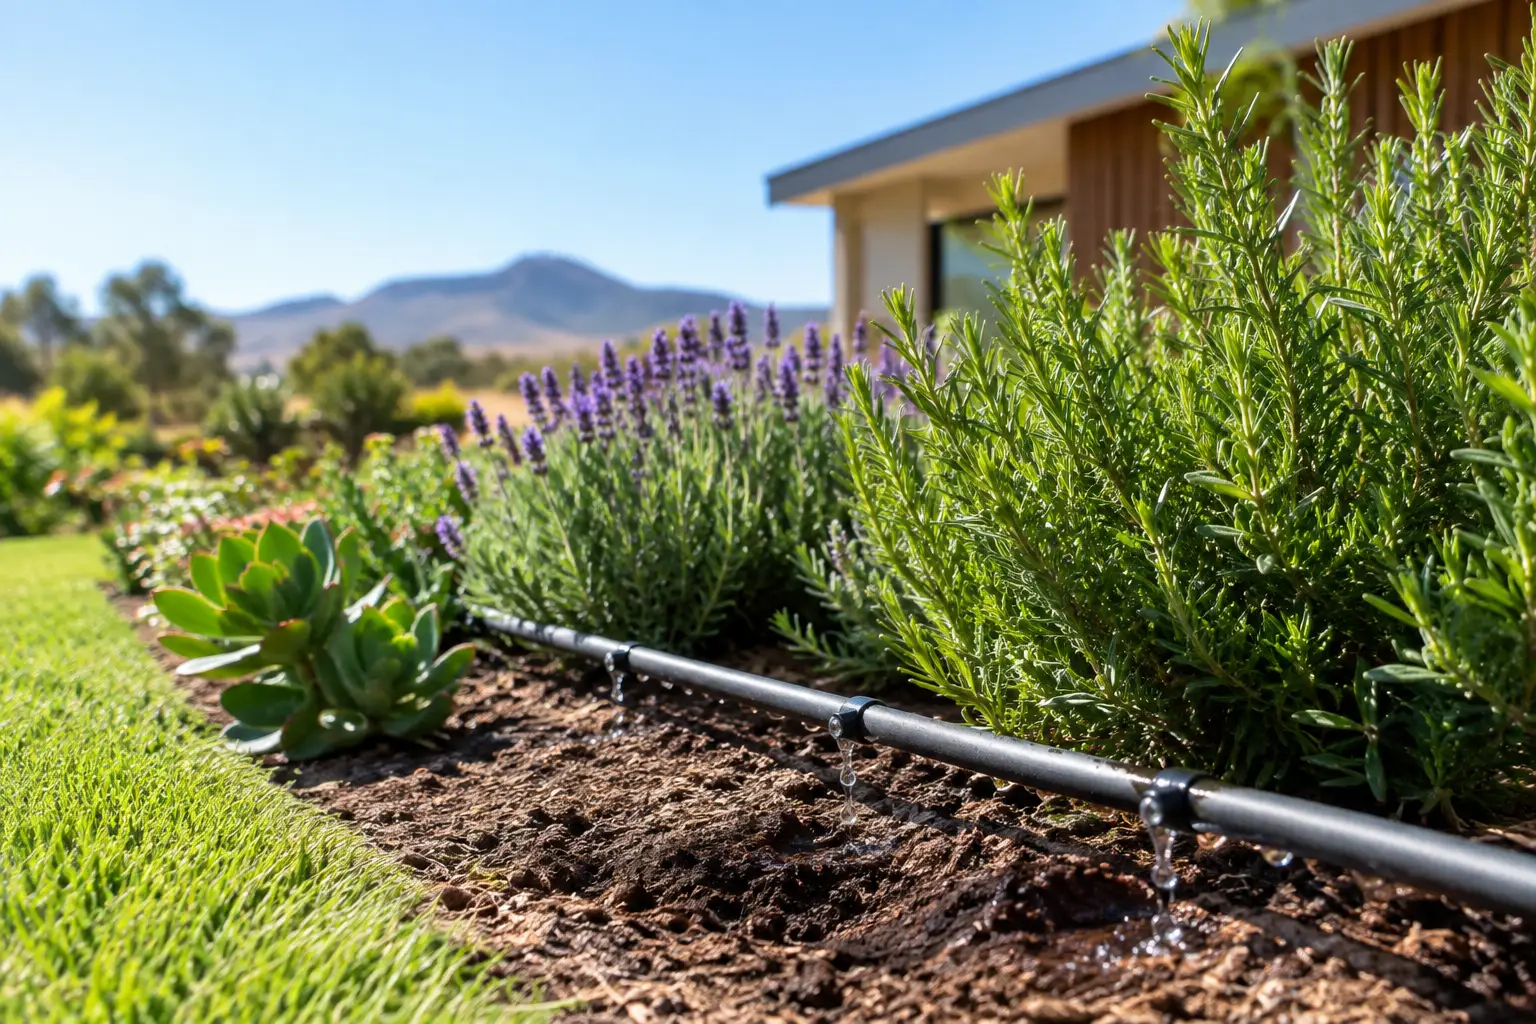
Dripline does this particularly well. Water exits through evenly spaced emitters along a flexible pipe, soaking into the soil at a controlled rate. With the line tucked under mulch, there is less evaporation, less wind drift and less wet foliage than with overhead sprinklers.
Compare the main vegetable garden watering options
Drip irrigation: best for most raised beds and rows
Drip irrigation is usually the most water-efficient choice for established vegetable beds. It applies water near the base of plants, where it belongs, and suits raised beds, in-ground rows, wicking-bed top-ups and greenhouse plots.
For a tightly planted bed of herbs, lettuce or carrots, use multiple parallel drip lines so moisture reaches the whole root area. For widely spaced tomatoes, capsicums or eggplants, individual adjustable drippers can work well. Many gardens use a combination: dripline for dense plantings and drippers for larger, spaced crops.
The trade-off is setup. You need to plan the route, connect fittings properly and occasionally flush the line. Emitters can block in dirty water, and a poorly designed run may water the first plants more heavily than the last. A pressure reducer and filter help keep flow even and reduce maintenance.
Soaker hose: simple, but less precise
A soaker hose leaks water along its length and can be laid across a garden bed without much installation effort. It is a reasonable option for a small bed where simplicity matters more than exact control.
Its weakness is predictability. Flow can vary along the hose, especially on longer runs or uneven ground, and it is harder to know how much water each section receives. It can also become brittle over time in harsh sun. If you choose one, cover it with mulch, keep runs short and check the soil at several points before assuming the whole bed is watered.
Micro-sprays: useful for seeds and dense seedlings
Micro-sprays provide a gentle overhead pattern that can be useful when germinating carrots, salad leaves and other densely sown crops. They also suit very large beds where installing many drip lines would be awkward.
However, overhead watering loses more water to wind and evaporation, particularly during hot Australian summers. Wet foliage can also encourage fungal issues when plants stay damp overnight. Use micro-sprays for establishment, then switch to drip irrigation once seedlings have formed a healthy root system where possible.
Hand watering: valuable, but difficult to sustain
A hose, watering wand or watering can gives you direct control. It is ideal for newly planted seedlings, a single pot, or checking in on plants that need extra attention. It also makes you notice pests, leaf damage and nutrient problems sooner.
The problem is reliability. Busy weeks, holidays and heatwaves do not wait for a free evening. Hand watering often leads to a quick surface wetting rather than the slower, deeper soak vegetables need. It is best used as a supplement to a dependable base system, not the only plan for a productive patch.
Build zones around plant needs, not just bed locations
One valve per garden is convenient, but it can create waste. A shaded bed of leafy greens may stay moist long after a sun-exposed row of cucumbers has dried. A few pots near the back door can need water far more often than established pumpkins in a mulched in-ground bed.
Where the layout allows, group plants with similar needs into irrigation zones. A practical home setup might separate seedlings and leafy greens, fruiting vegetables, herbs, and containers. You do not need a valve for every plant. The goal is to avoid forcing plants with very different moisture needs onto one schedule.
Soil matters just as much. Sandy soil drains quickly and usually benefits from shorter, more frequent cycles. Clay holds water longer, so running a system for too long can cause pooling and oxygen-starved roots. Raised beds vary widely depending on their mix, so test rather than relying on a generic schedule.
A simple check is to dig carefully beside an emitter after a watering cycle. You want moisture reaching the active root zone, not just the top few centimetres. If the soil is damp only at the surface, increase the run time gradually. If it is soggy well below the roots, reduce it or water less often.
Use timers carefully, then let soil conditions lead
A basic timer is a major step up from forgetting to water. It can run early in the morning, when evaporation is lower and plants have time to dry before nightfall. But a timer cannot tell whether rain fell overnight, whether a heatwave has dried a raised bed, or whether last week’s watering is still sitting in heavy soil.
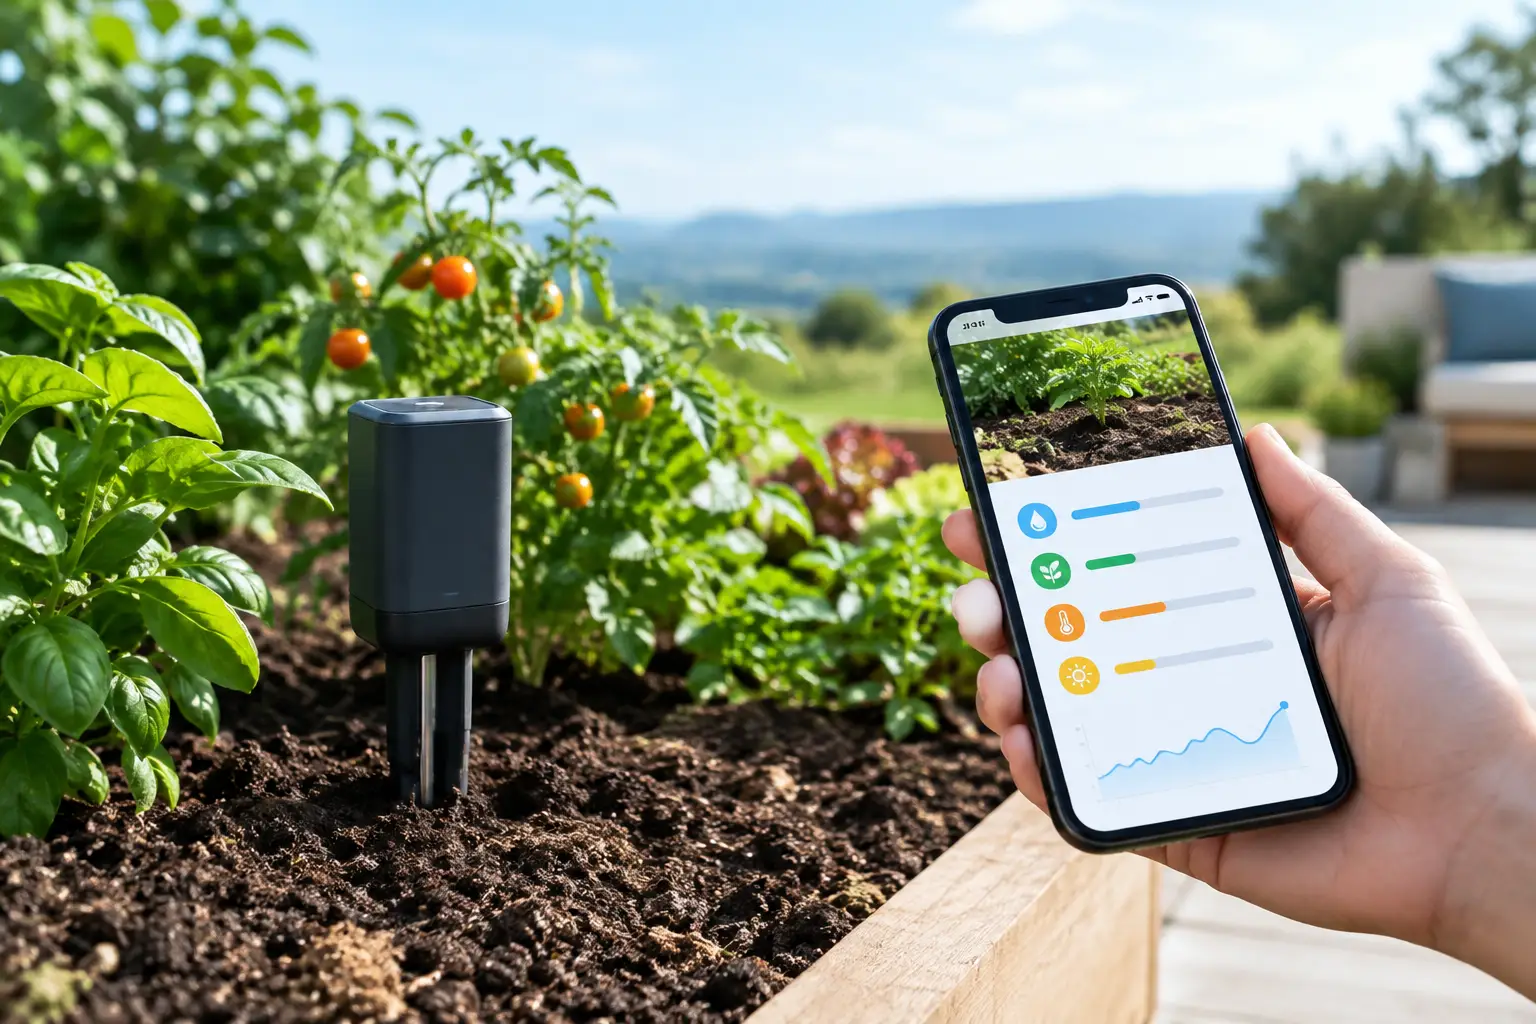
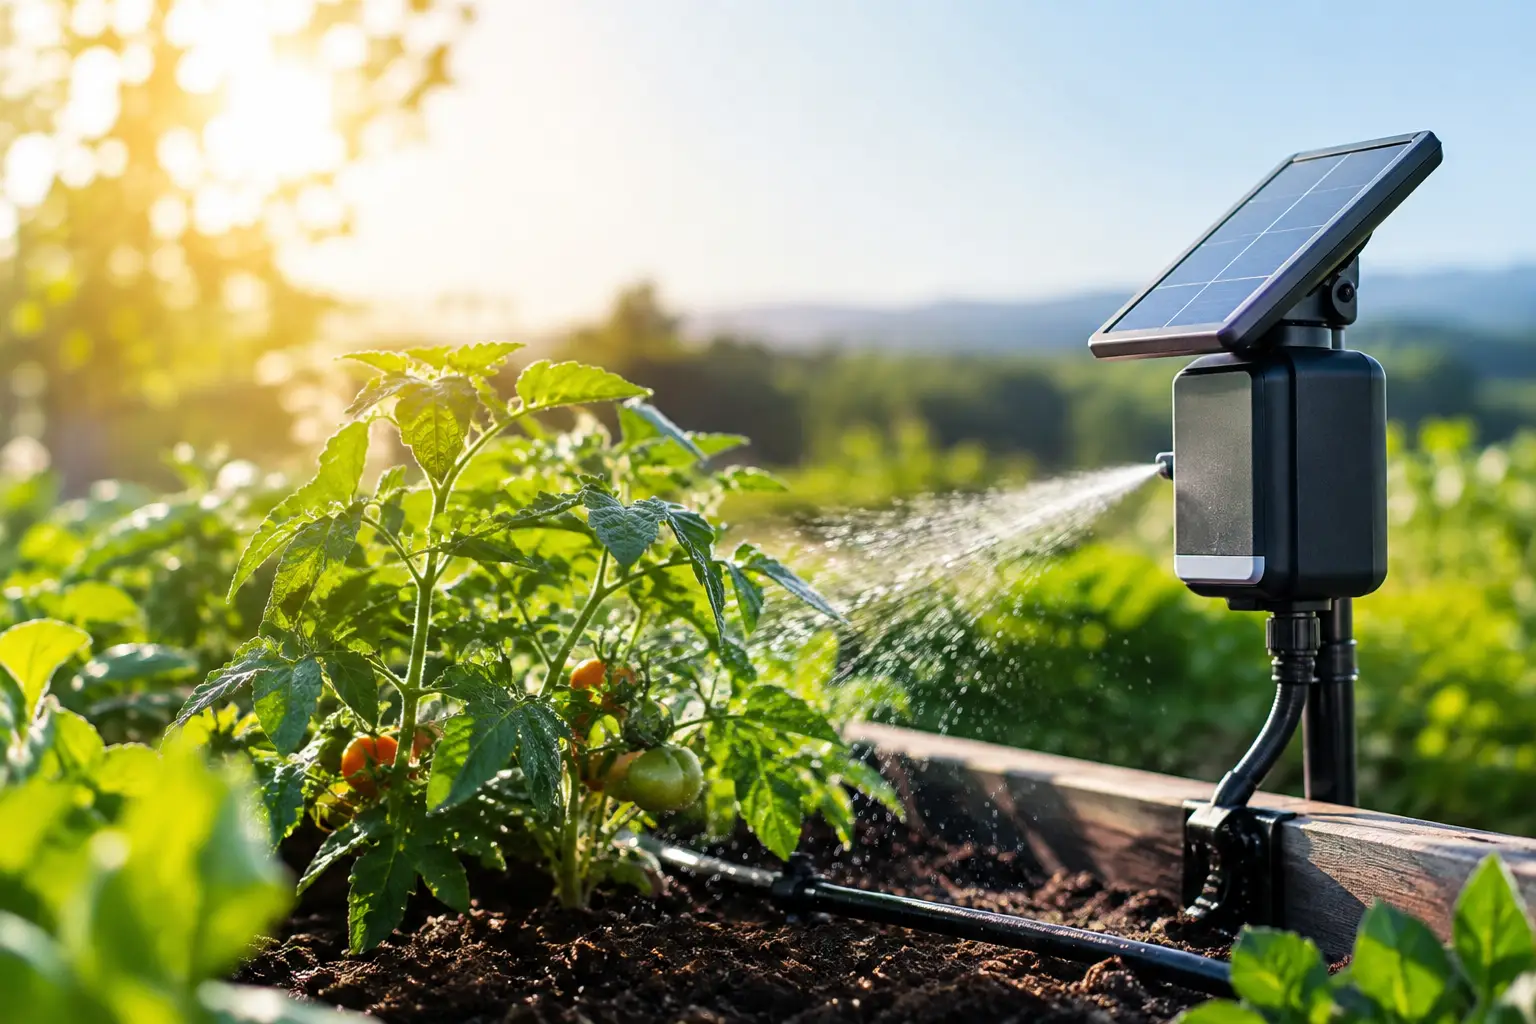
That is where a soil-moisture sensor changes the decision. Instead of watering because it is Tuesday at 6 am, set a moisture target for the zone and water only when the soil drops below it. Add local weather awareness to delay watering when meaningful rainfall is expected, while still prioritising what the sensor reports in the bed.
This approach is particularly useful in Australian conditions, where a cool coastal week and a run of 38-degree days demand entirely different watering. It also avoids the false confidence of a rain forecast that misses your suburb or delivers only a light shower.
Verde brings this into one simple flow: organise plants by zone, assign a suitable moisture range, connect compatible smart valves and soil sensors, then let watering respond to real conditions rather than a fixed rule. It works with existing compatible devices and connected-home platforms, without adding another hub or subscription to manage.
Set up drip irrigation for reliable results
Start at the tap with a backflow device where required, followed by a filter and pressure reducer suited to your irrigation components. Connect a main supply line, then branch into each bed with smaller distribution tube or dripline. Keep the layout accessible enough to inspect, but cover it with a layer of mulch after testing.
Run the system briefly before planting around it. Check for popped fittings, dry spots and excessive pooling. In rectangular raised beds, parallel lines usually work better than one loop around the edge, because roots grow throughout the bed. Space lines more closely in sandy mixes and for dense crops; use fewer lines for widely spaced plants in heavier soil.
Run times should be discovered, not copied from a packet. Begin with a moderate early-morning cycle, then inspect soil depth and plant response over the next week. Adjust for season, mulch depth, wind exposure and crop stage. A mature tomato in a hot, fruiting phase will not use water like a newly planted parsley seedling.
Check the system every few weeks. Flush line ends, clean filters and look for chewed tubing, blocked emitters or roots lifting a connector. Smart monitoring reduces routine guesswork, but a quick visual inspection still catches physical faults before a bed dries out.
Do not forget mulch and water restrictions
Irrigation works better when the soil is protected. A 5 to 8 cm layer of straw, sugarcane mulch, composted leaves or other suitable organic mulch slows evaporation, moderates soil temperature and reduces splash onto leaves. Keep mulch slightly clear of stems to avoid trapping moisture directly against them.
During local water restrictions, check your council's current rules before setting schedules. Drip systems are often treated differently from sprinklers, but permitted times and conditions vary. A moisture-led setup helps you stay conservative: water only where the root zone needs it, and skip cycles when rain has done the job.
The best system is the one you will keep using and checking. Start with a well-laid drip zone, learn how your soil behaves, and add automation where it removes the daily uncertainty. Your vegetables do not need more water by default - they need the right water, at the right time, delivered close to their roots.